
Perennial Zones 4 – 8 (Hardiness Varies)
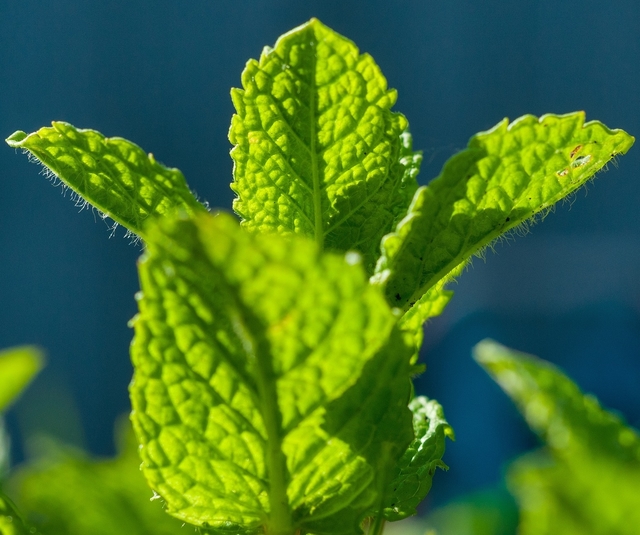
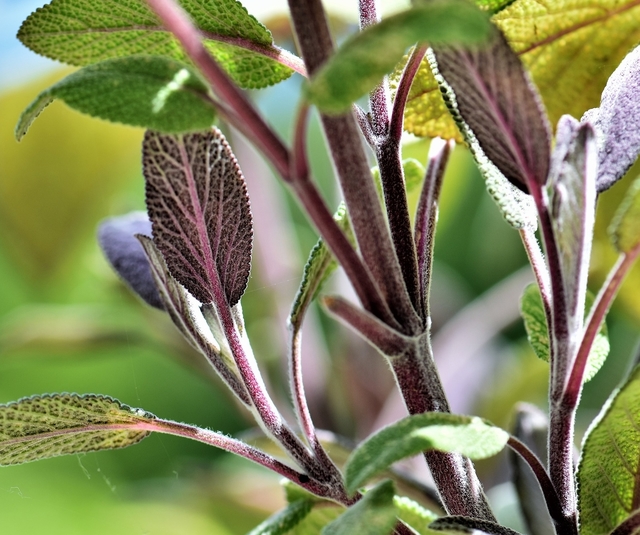
Sage is a shrubby perennial that’s an obvious choice for the kitchen. From spring through mid-summer, Sage displays blue to lavender flowers which are very attractive to birds. It has an earthy, rich, spicy flavor and it is part of the mint family.
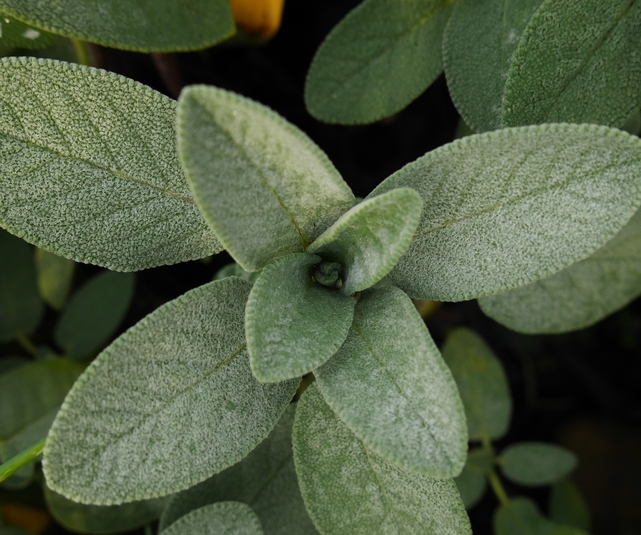
The most popular types of culinary Sage are Garden Sage, Golden Garden Sage, Berggarten Garden Sage, Dwarf Garden Sage, Tricolor Garden Sage, and Window Box Sage.


Starting Sage from Seed
Seed Longevity: 2 years.
Seed Sowing Depth: Surface, cover lightly.
Best Soil Temp for Germination: 65 – 70 degrees.
Days to Germination: 15-21 days.
Spring Sowing:
Sow Indoors 6 – 8 weeks before the last frost. Transplant out after the last frost date.
Fall: Not recommended.


Winter Sowing
For our article containing detailed information about Winter Sowing, see our separate article.
Herb Scissors

Herb Mincer

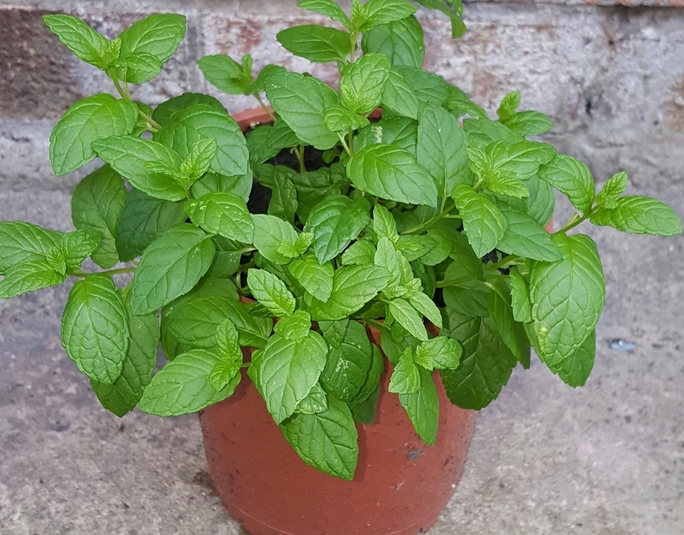
Growing Sage
Plant Size: 1-3’ Height.
Growing Soil Temperature: 55 – 80 degrees.
Spacing: 12 - 18”.
Container Size: 12” x 12” good size for Sage.
Soil: Well-drained.
Watering: Light, only during dry spells. Avoid overwatering.
Light/Sun: Full sun to light shade.
Fertilizer: Add some compost throughout the year.
Other Care Tips:
- Prefers cool to warm temperatures and will need some shade during the hot weather.
- The plant should be replaced every 4-5 years.
- Remove flower spikes before they have a chance to flower.
- After three years, trim off woody parts to encourage new growth.

Dividing Sage
Best to divide Sage every 4-5 years when the plant becomes woody. Dig up the entire plant, and using a sharp shovel, divide it into sections. Remove all woody parts and replant the tender sections planting at the same depth.
Softwood Cuttings of Sage
Take cuttings in spring when new growth is several inches in length. Side shoots of 4" in length are perfect. Cut the stem at an angle and remove lower leaves leaving an inch or two of the stem bare. Plant cutting bare side down into a well-drained soil mix. No fertilizer is needed at this stage.
Wrap the container in plastic to keep in humidity. Avoid having the leaves touch the plastic. Place the pot in light but out of direct light. Keep soil moist but never soggy. Remove the plastic when cutting grows roots. A light tug that gives you some resistance means it has rooted.
Harvesting Sage
Start to harvest Sage once you see good growth on the plant. Best harvested when tops of blossoms are barely open. You can gather leaves at any time. Sage is most flavorful as flowers begin to open. Purple-leaved Sage tends to be more aromatic than green-leaved Sage.
Storing Sage
Fresh
Damp Paper Towel
This method works well for hardy herbs that have woody stems as well as a few soft-stemmed herbs.
Clean and thoroughly dry the Sage. Arrange lengthwise in a single layer on a slightly damp paper towel. Loosely roll up the herb and transfer to a plastic bag or plastic wrap. Label and store in the fridge. Sage will stay fresh in the fridge using this method for up to 2 weeks.
Freezing
For best results, use frozen Sage within 1-2 years. By freezing herbs, you will lose some of the herb's texture but preserve the flavor. Here are a few freezing options to consider:
Tray Freeze
Strip leaves off the stems of the Sage and spread onto a cookie sheet on a single layer. Freeze in the freezer, then place it in a labeled freezer bag to store. Since the leaves are frozen separately, you can easily remove the amount you need.
Ice Cube Trays with Oil
This method works well for hard-stemmed herbs that would probably be cooked when adding to a dish. The oil reduces some of the browning and freezer burns.
Clean and thoroughly dry herbs. Mince and firmly pack herbs into an ice cube tray 3/4 full. Add Olive Oil to fill and freeze. Transfer frozen cubes into labeled freezer bags to store.


Flat Freezer Bag
Trim off the stems and place them in a labeled freezer bag. Squeeze out the air, flatten the freezer bag, label and store.
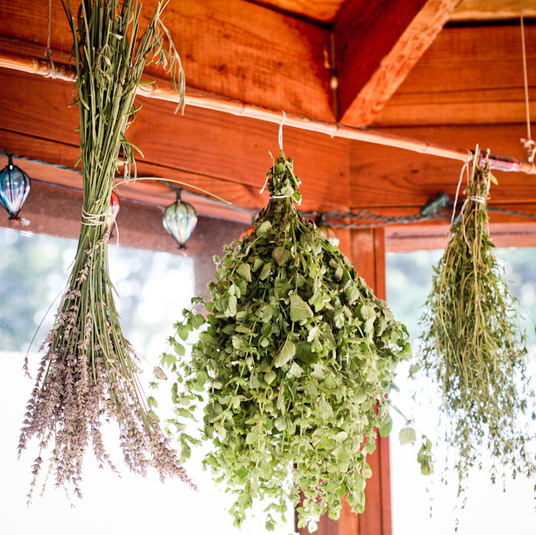
Drying
Sage contains more oil than most other herbs so it dries more slowly. It is one of the best herbs to dry. For best results, use dried Sage within 1-2 years.
Hang to Dry
Pick your Sage in bunches right before you intend to store them. Tie the bottom of the bunch together with twine and hang upside down to dry in a dry, low humidity area. For added protection against dust, you can put the bundles inside paper bags with plenty of holes for ventilation. When the herbs are dry, the leaves will crumble easily between your fingers. Store in an airtight container.
Using Sage
- Sage can be overwhelming so start with small amounts.
- Use leaves fresh in recipes or add them sparingly to salads.
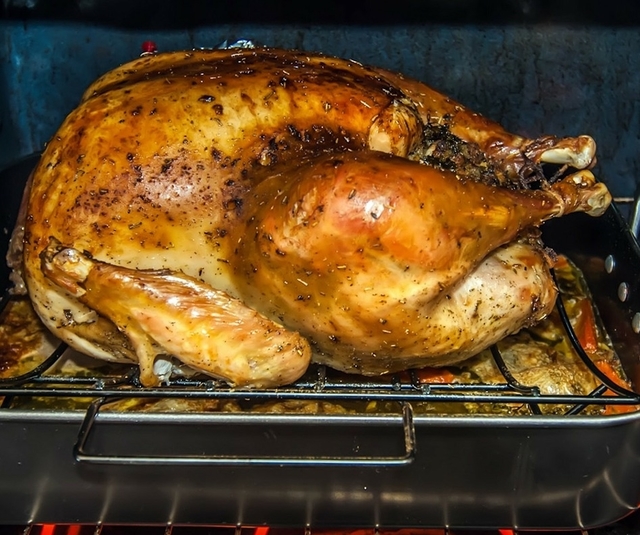
- Dried sage is commonly used with Thanksgiving stuffing.
- It can be paired with pork, beans, potatoes, and cheese.
- You can mix it into a soft cheese for a tasty bread spread.