Thursday, October 21, 2021

Using Wicker Baskets for Making Hypertufa


This article presumes that you are familiar with the basics of making projects with hypertufa. If you aren’t familiar with the process, or just need a refresher, go to our Hypertufa 101 article with step by step hypertufa-making instructions, by clicking here.


I have made several hypertufa projects and by far my favorite mold for making planters is wicker baskets. They can readily be found for a few bucks at second-hand shops so I don’t worry that they will be destroyed by the process.


When you firmly push the hypertufa mix into the wicker basket’s cracks and crevices, the final look has a basket imprint which I find hard to match by any other method.


Types of Wicker Baskets


The thickness and strength of the wicker basket is important. Baskets that are thicker with a tighter weave will give you the deepest imprint on the final project but will be more difficult to de-mold later.


Recipe for Wicker Basket Planters


The common mix recipe of one part Portland Cement, one part peat moss and one part vermiculite or Perlite works well for small to medium planters.


Building on the Inside of the Basket


The above wicker heart was used as a mold to build the hypertufa on the inside.  It will be a small planter just big enough for a mini hosta or sedum.


Wicker Baskets are generally used as inside molds so that beautiful wicker design is imprinted on the outside of the planter. It’s important to firmly press those hypertufa meatballs into the basket.


Here's a thicker basket filled with hypertufa.


DeMolding from a Wicker Basket


There are a few things you can do to make de-molding the project from the wicker basket easier.


Greasing the inside of the basket with Vaseline or cooking spray before adding the hypertufa mix is one way.


A trick I have learned is to vertically slice one area of the basket from the top to the bottom. Then place some duct tape over the slice to hold the basket steady while you build.

When it's time to demold, pull off the tape and begin the slow process of demolding at the area that you previously sliced open.


There are few garden projects that are as easy and rewarding as making hypertufa garden art and planters.

If you haven't tried it yet, read our Hypertufa 101 and get started!  You'll be hooked in no time.

Where to go next!

Great Garden Articles -- Full List!
Follow us on Pinterest!
Back to Our Blog Homepage!


This post may contain some Amazon Associate links meaning that I will get a small compensation at no expense to you if you purchase something from this blog.


Friday, October 8, 2021

Making Seed Tapes


Making Seed Tapes 


I used to think making seed tapes was a waste of time and I didn’t understand why gardeners would spend time making them.


That was until I was at my wit’s end trying to thin out carrot seeds that I had direct sown. I find it nearly impossible to get the spacing right on those tiny seeds. So I tried the seed tape thing and made enough of them to fill a four by eight foot raised garden bed.


The result?  The carrots germinated with just the right spacing – NO THINNING!  I was sold.

Friday, October 1, 2021

Don't Cut Corners in your Vegetable Garden!


Don't Cut Corners in your Veggie Garden!
You Can Be Frugal and Successful!


There are a lot of ways to cut corners in the garden to save money. Buying garden supplies such as containers, watering cans, etc from a second-hand store is one way. Building your own raised garden beds or trellises is another.

Sunday, September 26, 2021

Feeding Bread to Wild Birds


Feeding Bread to Wild Birds


Generally, bread is not safe to feed birds on a regular basis, and the general category of “bread” for this article includes any bread-like product including buns, bagels, crackers, chips, etc.  

Thursday, September 16, 2021

Growing Basil - Homesteading 101


Basil is a warm-season tender herb with soft stems and leaves.  It's popular for many reasons.  It makes the perfect partner for tomatoes, not only in the garden where its strong scent may confuse predatory insect pests but also chopped and sprinkled on thick slices of juicy tomatoes, still warm from the sun.


Basil with a bowl of tomatoes

Popular types of Basil


Christmas Basil Height: 16-20"

This basil will add a fruity flavor to salads and drinks.  It has glossy green leaves and purple flowers.


Cinnamon Basil Height 25-30"

This basil has a delightful fragrance and spicy flavor.  It has dark purple stems and flowers and small glossy leaves.  It's used in fresh arrangements and in fruit salads and as garnishes.


Dark Opal Basil Height 14-20"

Spicy basil in salads, in pesto and as garnishes.  Purple stems, flowers, and leaves.


Holy Basil Height 12-14"

The leaves are used to make tea for boosting your immune system.  Mottled green and purple leaves.


Lemon Basil Height 20-24"

Lemon basil is used in fish dishes and iced tea.  Light green leaves with white flowers.


Lime Basil Height 12-16"

Lime basil is a compact basil with green leaves and white flowers.  It's used with fresh fish and chicken dishes, teas and margaritas.


Purple Ruffle Basil Height 16-20"

This basil has the same flavor as Opal basil and is used for floral arrangements and garnishes.


Sweet Basil Height 14-30"

Sweet Basil is used in Italian sauces and soups and for making pesto.  It's more prolific in hot sunny locations.


Sweet Tai Basil Height 12-16"

An Asian variety with a distinct spicy anise-clove flavor.  Purple stems and blooms with green leaves.


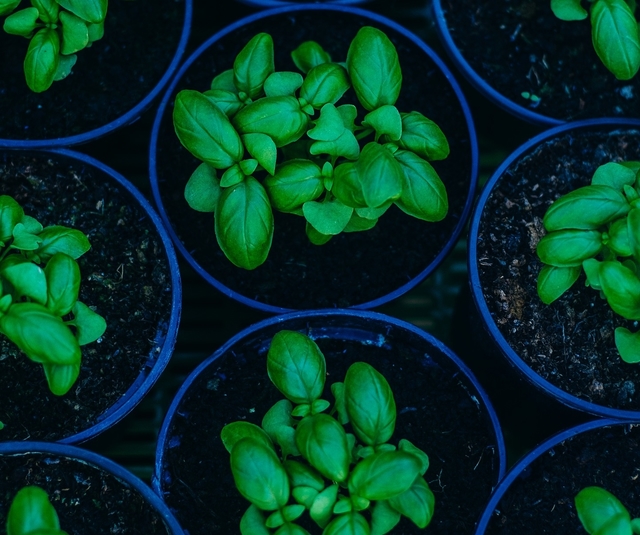
Basil Seedlings in small blue pots

Starting Basil from Seed


Seed Longevity:                                      5 years. 
Seed Sowing Depth:                               Just cover.
Days to harvest:                                      60-90 days.
Best Soil Temp for Germination:             75-85 degrees.
Days to Germination:                               5-10 days.


Spring Sowing                                    

Sow indoors 4-6 weeks before your last frost date.  Plant out after all danger of frost has passed.


Direct Sowing

Direct sow seeds straight into the garden after the danger of frost has passed.  

                                  
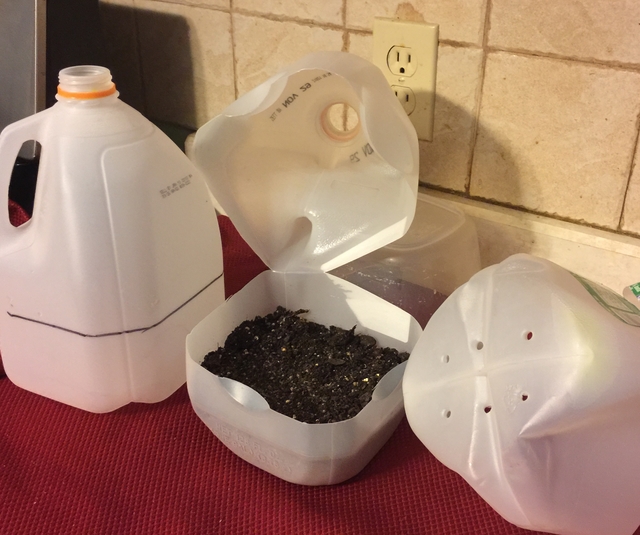
Milk Jugs used as winter sowing seed containers   


Winter Sowing

If you haven't tried winter sowing, you're in for a treat.  This method is especially good for sowing herbs.  Winter sowing is basically sowing seeds in the bottom of milk jugs in the winter, setting the milk jugs outside for the winter and leaving them there until the seeds germinate in the Spring.

For our article containing detailed information about Winter Sowing, click here.


Growing Basil


Plant size:                                          See list above.
Growing Soil Temperature:                75-85 degrees. 
Spacing:                                             4-8" apart.
Container Size:                                  16"-18" diameter.
Soil:                                                    Well-drained, moderately rich and loose.
Watering:                                            Light and even.
Light/Sun:                                           Full sun  6-8 hours.

Good Companions:                           Pepper, tomatoes.
Bad Companions:                             Beans, cabbage, cucumbers.
Fertilizer:                                         

If grown in rich soil, none.  Otherwise, light fertilizer one time during the growing season.


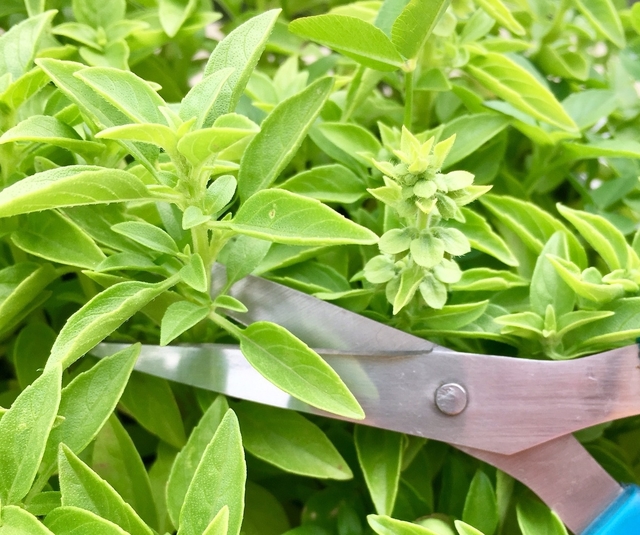
Scissors snipping off basil cutting from plant

Basil Cuttings

Take a 4" long cutting from a stem that hasn't flowered yet.  Remove the leaves from the bottom 2" and place in water on a windowsill.  After the roots are 2" long, usually 2-4 weeks, pot in soil and continue to grow.  


Harvesting Basil

Use fresh basil leaves any time.  Basil is at its peak flavor then the buds are about to blossom.  

Harvest the whole plant before frost, preferably in the morning.

Try Audible and Get Two Free Audiobooks


Harvesting Basil Seeds

Wait until the stem or seed pods turn brown.  When the seeds are viable, they will be black in color.


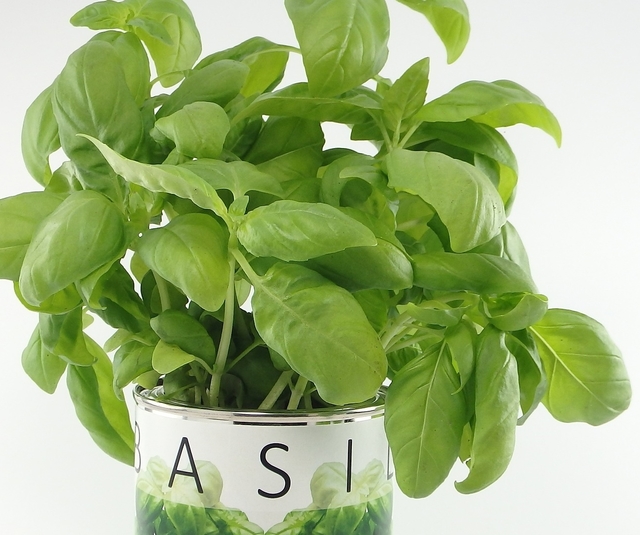
Basil plant growing in a pot

Storing Basil


Fresh
Bouquet Storage  
 

Clean and thoroughly dry the Basil.  Trim the end of the stems and remove any wilted or browned leaves.  Place the Basil into a Mason jar or clear glass with 1" of water like a bouquet of flowers.  Leave at room temperature.


Freezing

For best results, use frozen Basil within one year.
By freezing herbs, you will lose some of the herb's texture but preserve the flavor.
Here are some suggestions for freezing:


Whole Leaf Freeze

Remove the stems.  Blanch the leaves for 2 seconds, then dunk in ice water bath.  Dry completely and store in freezer bags.


Ice Cube Trays

Remove the stems, clean and thoroughly dry the Basil.  Puree one cup of basil with one tablespoon of olive oil.  Freeze the pureed basil in ice cube trays firmly packed 3/4 full.  Transfer frozen cubes into a labeled freezer bag to store.


Flat Freezer Bag

Remove stems, clean and thoroughly dry the Basil.  Chop herb into 1/2" pieces, place in a labeled freezer bag. Squeeze out the air, lay flat and freeze.


Drying

Basil does not dry well.


Using Basil

Basil's rich, spicy flavor, likened to pepper with a hint of mint and cloves, works wonders in pesto, tomato sauces, salads, cheese dishes, eggs, stews, vinegars and all sorts of vegetables.  You'll find basil used often in Italian and Thai foods.


Growing your own herbs is fun, easy, more healthy than the herbs shipped to grocery stores, and what's best, saves you tons of money! Try it today.


To view the other herb articles in our culinary herb series, click on the herb name below.


Where to go next!

Great Garden Articles -- Full List!
Follow us on Pinterest!
Back to Our Blog Homepage!


This post may contain some Amazon Associate links meaning that I will get a small compensation at no expense to you if you purchase something from this blog.


Thursday, September 9, 2021

Growing Oregano - Homesteading 101


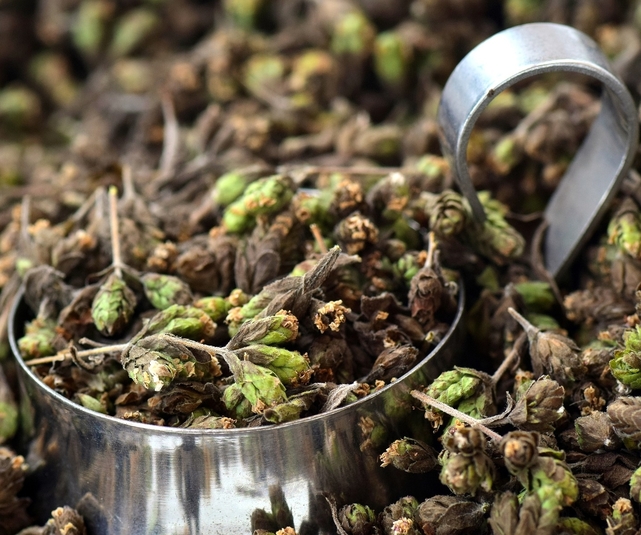
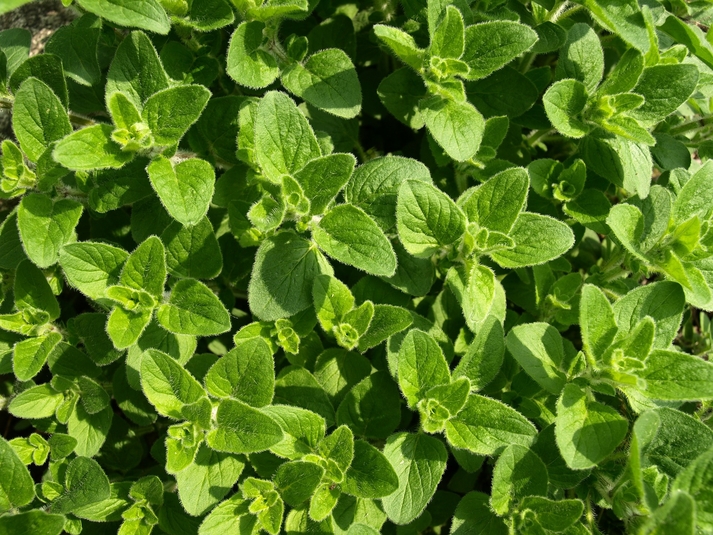
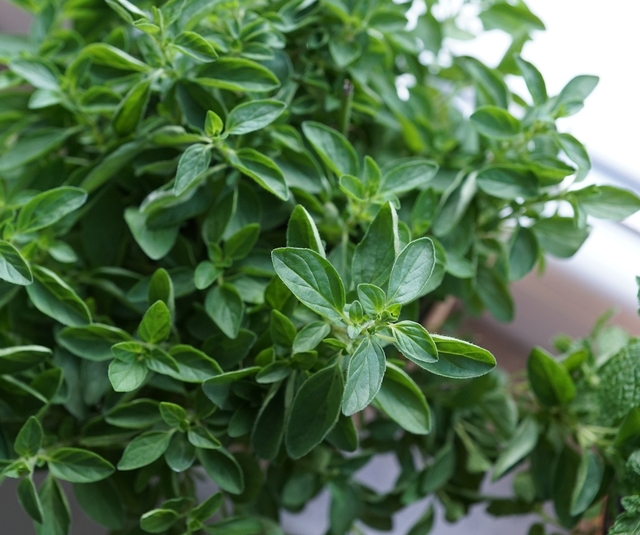
A hardy perennial in Zones 5 – 10 gardens, Oregano is a pungently aromatic plant that is one of the most important herbs in Italian, Greek and Mexican cooking.  It has a bold flavor and a hardy constitution.  It is also called Wild Marjoram.

The flavor of Oregano can vary greatly from variety to variety.  Greek Oregano is the spiciest. 


Starting Oregano From Seed

Seed Longevity:                                   One Year.
Seed Sowing Depth:                            Just cover.  Needs light to germinate.
Best Soil Temp for Germination:          60 degrees.
Days to Germination:                           7 - 14.
Spring Sowing:                                    Sow indoors 8-10 weeks before last frost.                                                                Direct sow 2 weeks before last frost.
Fall:                                                      Not recommended.


Winter Sowing

If you haven't tried winter sowing, you're in for a treat.  This method is especially good for sowing herbs.  Winter sowing is basically sowing seeds in the bottom of milk jugs in the winter, setting the milk jugs outside for the winter and leaving them there until the seeds germinate in the Spring.

For our article containing detailed information about Winter Sowing, click here.


            Other Sowing Tips                               

At 6” tall, thin seedlings to 12” apart.


Growing Oregano

Plant Size:                                                   Height 8-12” Spread 24”.
Spacing:                                                      18”.
Container Size:                                            12" diameter and  8+” deep.
Soil:                                                              Well-drained.
Watering:                                                      Thoroughly, less often. 
Light/Sun:                                                     Thrives in warm, sunny spots.
Fertilizer:                                                       None for the best-flavored foliage.
Good Companions:                                       Everything.  
Bad Companions:                                          Nothing.


                                Other Care Tips                                       

  • Flowers should be pinched off to keep the plants bushier and prevent them from early bolting.
  • Allow plants to grow to 4” tall then trim lightly to encourage branching.
  • Regular trimming will avoid plant legginess.                               


Dividing Oregano

Divide Oregano plants when the stems begin to die out or the stems become woody, or to simply make more plants. 


Soft Cuttings

Take cuttings in spring when new growth is several inches in length.  Side shoots of 4" in length are perfect. Cut the stem at an angle and remove lower leaves leaving an inch or two of the stem bare.  Plant cutting bare side down into a well-drained soil mix.  No fertilizer is needed at this stage.

Wrap the container in plastic to keep in humidity.  Avoid having the leaves touch the plastic.  Place the pot in light but out of direct light.  Keep soil moist but never soggy.  Remove the plastic when cutting grows roots.  A light tug that gives you some resistance means it has rooted.


Overwinter Plant Care

Oregano plants should be cut back to ground level and covered with a layer of mulch.  Containers can be brought inside for the winter.


Harvesting Oregano

As soon as the leaves are large enough to use and before the plant flowers.
Snip the leaves individually or shear plants to 2” above ground level just before flowering and again a month before the first frost.  You'll get two harvests that way.


Harvesting Oregano Seed

Oregano seeds are tiny and develop after the flowers fade in late summer or fall.  Collect and thoroughly dry seeds before storing them in an airtight container.


Storing Oregano


Fresh
Damp Paper Towel

This method works well for hardy herbs that have woody stems as well as a few soft-stemmed herbs.

Clean and thoroughly dry the Oregano.  Arrange lengthwise in a single layer on a slightly damp paper towel.  Loosely roll up the herb and transfer to a plastic bag or plastic wrap.  Label and store in the fridge. 

Oregano will stay fresh in the fridge using this method for up to 2 weeks.


Freezing

For best results, use frozen Oregano within 1-2 years.
By freezing herbs, you will lose some of the herb's texture but preserve the flavor.
Here are some freezing methods:

Tray Freeze

Spread herb onto a cookie sheet on a single layer. Freeze in the freezer, then transfer the Oregano into a labeled freezer bag to store.  Since the leaves are frozen separately, later you can easily remove the amount you need.

Ice Cube Trays with Oil

This method works well for hard-stemmed herbs that would probably be cooked when adding to a dish.  The oil reduces some of the browning and freezer burn.
Clean and thoroughly dry the Oregano.  Mince and firmly pack herbs into an ice cube tray 3/4 full.  Add Olive Oil to fill and freeze.  Transfer frozen cubes into labeled freezer bags to store.


Flat Freezer Bag

Trim off the stems and place in a labeled freezer bag.  Squeeze out the air, flatten the freezer bag, label and store.


Drying Oregano

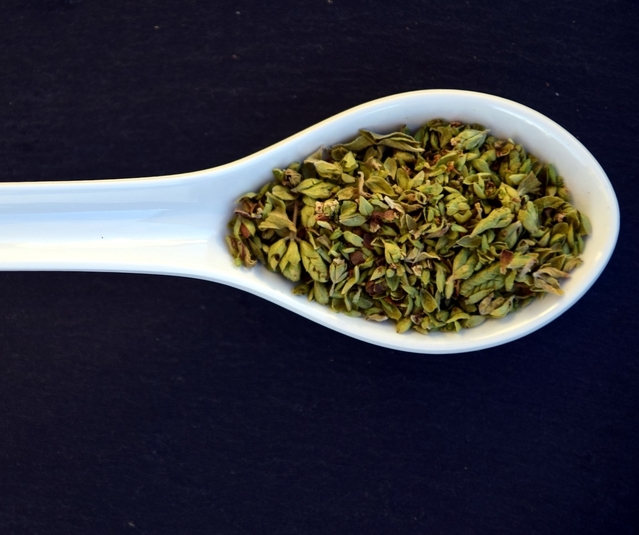
Oregano is one of the best herbs to use in a dried form.  For best results, use dried Oregano within 1-2 years.


Hang to Dry

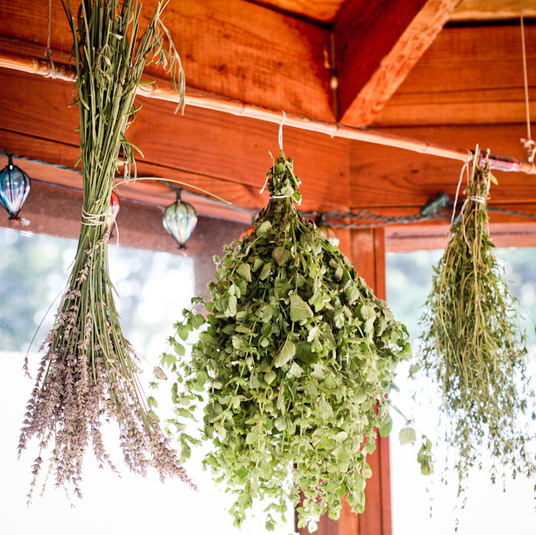
Pick your Oregano in bunches right before you intend to store them.  Tie the bottom of the bunch together with twine and hang upside down to dry in a dry, low humidity area. For added protection against dust, you can put the bundles inside paper bags with plenty of holes for ventilation.  When the herbs are dry, the leaves will crumble easily between your fingers.  Store in an air tight container.


Using Oregano


  • Oregano adds zest to pasta and pizza sauces.
  • It complements meats and vegetables.
  • Garlic, onion, thyme, basil, parsley and olive oil are complementary partners.
  • Makes a great ground cover.

Growing your own herbs is fun, easy, more healthy than the herbs shipped to grocery stores, and what's best, saves you tons of money! Try it today.


Where to go next!

Great Garden Articles -- Full List!
Follow us on Pinterest!
Back to Our Blog Homepage!


This post may contain some Amazon Associate links meaning that I will get a small compensation at no expense to you if you purchase something from this blog.


Sunday, August 8, 2021

Winter Sow Your Vegetable Seeds!


Winter Sow your Vegetable Seeds!


First off, if you are unfamiliar with the basics of winter sowing, you may want to start with the Winter Sowing 101 article, then come back for the vegetable sowing specifics.

Popular Posts