
aka Frisee
Annual Plant related to Chickory
Height: 6-12" Width: 6-12"
Endive and Escarole are different forms of the same plant. Endive has curly or crinkly-edged leaves and a sharp, somewhat bitter taste. Escarole is a type of Endive which is hardier with flat, somewhat thicker leaves and a less bitter flavor.
Types:
- Curled Endive with pointy leaves.
- Smoother-leafed Escarole
Starting Seeds of Endive/Escarole
Seed Depth: 1/4" deep.Seed Spacing: 3 seeds per inch.
Days to Germinate: 5-7 days.
Days to Harvest: 45 days as baby greens. 60-100 days as mature heads.
Seed Longevity: 4-6 years.
Sowing Indoors:
Spring: Sow 8 weeks before your average last frost date.
Sowing Outdoors:
Spring: Direct sow as soon as the ground can be worked.
Fall: Direct sow 15 weeks before the first expected frost date.
Salad Spinner

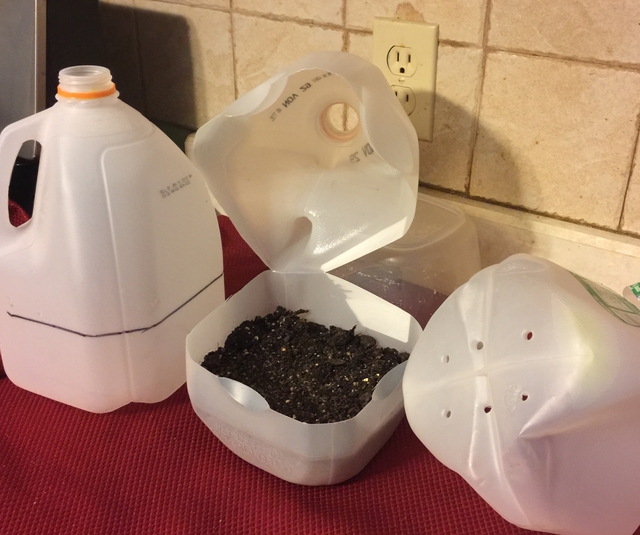
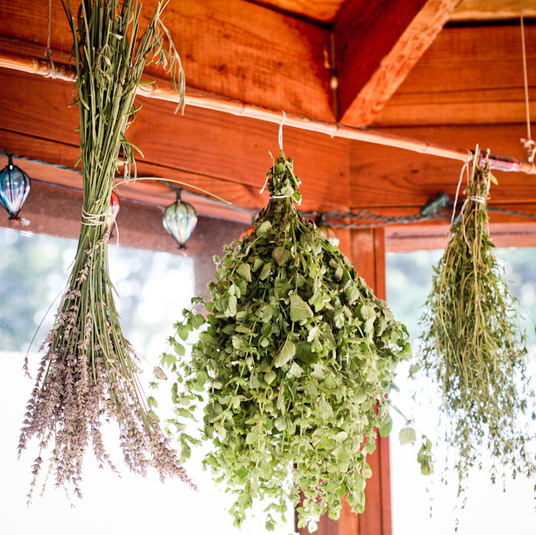
Winter Sowing:
If you haven't tried winter sowing, you're in for a treat. This method is especially good for sowing herbs and greens. Winter sowing is basically sowing seeds in the bottom of a milk jug during the winter, setting the milk jugs outside for the winter and leaving them there until the seeds germinate in Spring.For our detailed article about winter sowing, click here.
Salad Tongs

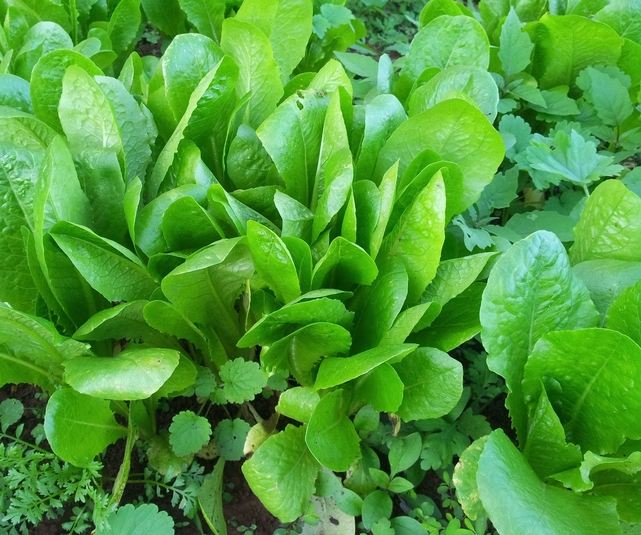
Growing Endive/Escarole Plants
Growing Temperature: Can take temperatures as low as 20 degrees.Plant Spacing: 8-12".
Container Size: 12" deep.
Sun/Shade: Full sun to part shade.
Soil: In poorer soils, add fish emulsion or seaweed.
Watering: Consistent moisture for best flavor.
Light moisture when grown in a cold frame.
Try Audible and Get Two Free Audiobooks
Fertilizing:
Since greens are such a fast-growing crop, as long as they are grown in rich soil there may be little need for further fertilization. That said, a liquid balanced fertilizer when the seedlings are 4" tall will give your greens a boost and carry them through their short season. After the temperatures warm, though, the leaves of Endive will turn bitter and no amount of fertilizer will help at that point.
Salad Lunch Container

Growing Tips
Looseleaf varieties can survive winter if given some sort of protection like an unheated greenhouse. If you leave undamaged roots and 1 inch of stem, new growth may appear in warmer weather.Fall plants that are subjected to a few light touches of frost have a richer, less bitter flavor than spring-grown plants.

Harvesting Endive/Escarole
Harvest as soon as the outer leaves are of usable size. Gather leaves as needed or cut the whole plant at the soil level. Harvest all before the first frost.Using Endive/Escarole
- Leaves are best used fresh.
- Endive begins to turn pale green and taste bitter when exposed to light.
Storing Endive/Escarole For Later Use
Although tender green leaves, like Lettuce, can't be preserved well, the thicker leaved greens can be.Fresh
- Clean and pat dry. Bundle stems lightly, place on a paper towel (to absorb moisture) and wrap in a plastic bag. Keeps in refrigerator for 10 days.
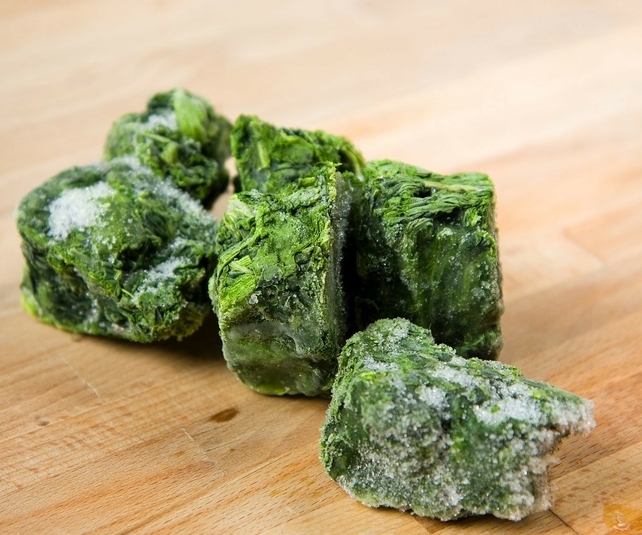
Freezing for Later Use in Chilis, Soups, Sauces, and Casseroles.
- Steam or saute' leaves, chop them and store in freezer bags.
- Puree with water and freeze into ice cube trays.
- Clean and dry the leaves and store in quart size freezer bags.
- Frozen leaves will keep for 6 months.
- Blanching the leaves first will extend freezer storage to 14 months.
To read the other articles in our Growing Your Greens series, click on the name below:
Swiss Chard
Great Garden Articles -- Full List!