Mint is a hardy perennial commonly associated with sweets. Mint lends a cool, peppery bite to plenty of dishes. It’s very fragrant, fast-growing but it can be invasive.
Starting from Mint Seed
Mint is very difficult to grow from seed and most plants grown from seed will be different than the parent plant. This is because they are hybrid varieties that don't come true to form when grown from seed. Growing Mint from seed is not recommended, but here are the details.

Growing Mint
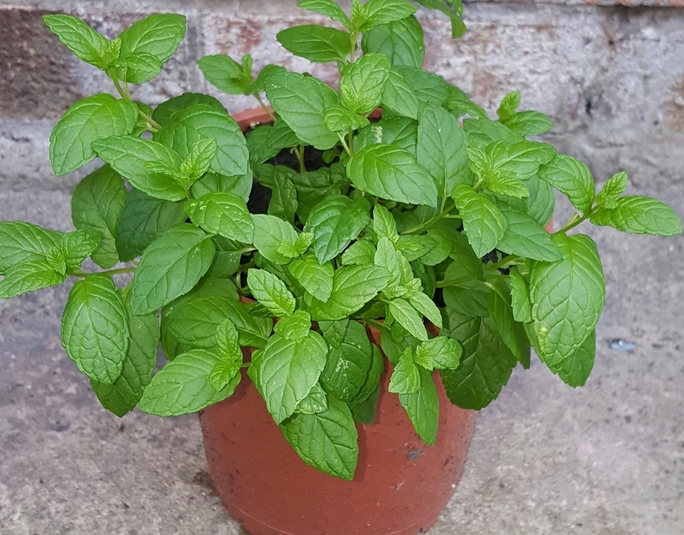
Plant size: Height 12”–18” height Spreading.
Spacing: 8-24”.
Container Size: 2 seedlings in a 12” container.
Soil: Avoid very heavy soil.
Watering: Loves moist soil.
Light/Sun: morning sun and part afternoon shade.
Fertilizer: Fertile soil. Diluted fertilizer every 2-3 weeks.
Good Companions: Peas, tomatoes.

Other Care Tips
- The plant can be rather invasive as it spreads through runners underground.
- In fall, cut back the plant to the ground
- Trim off the top of the plant for compact growth
- Mulch plant before the first frost.
- Bring a plant indoors in later summer for winter.
herb mincer


Dividing Mint
Mint propagates well through rootball division. Use a sharp shovel to cut into desired pieces and replant at the same depth. Dividing a Mint plant every two or three years will help keep the fresh scent and the flavor of the mint nice and strong.

Softwood Cuttings
Cut off a 4” sprig and place in 1” of water. Remove leaves that fall below the waterline. Small roots should appear under the water. Change water every three to four days to prevent rot. Wait another week then plant in soil.

Harvesting Mint
Right before flowering, cut the stems 1 inch from the ground. You can harvest one mint plant two or three times in one growing season. You can also just pick the leaves as you need them. You can grow the plants indoors for fresh leaves throughout the winter.Storing Mint
Fresh
Bouquet Storage
This method works well for tender herbs with soft stems and leaves.
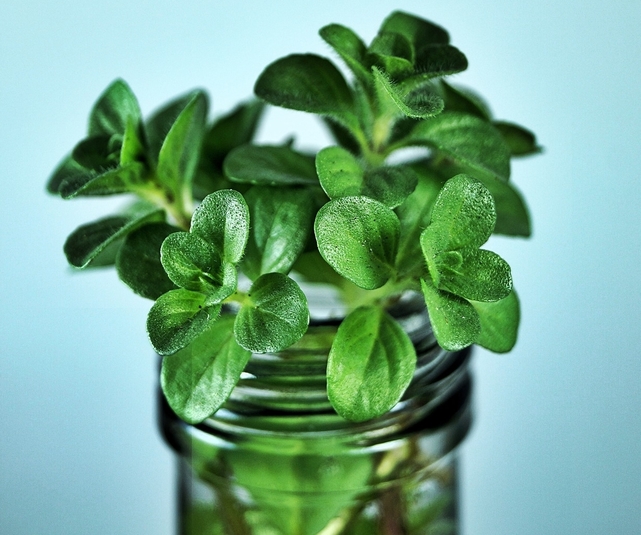
Clean and thoroughly dry the herb. Trim the end of the stems and remove any wilted or browned leaves. Place the Mint in a Mason jar or clear glass with 1" of water like a bouquet of flowers. Loosely cover with a plastic bag or cling wrap. Label and store in the fridge.
Mint will stay fresh in the fridge with this method for up to 2 weeks.
Try Audible and Get Two Free Audiobooks
Try Audible and Get Two Free Audiobooks
Freezing
For best results, use frozen Mint within 1-2 years. By freezing herbs, you will lose some of the herb's texture but preserve the flavor. Here are a few freezing options to consider:
Tray Freeze
Spread herb onto a cookie sheet on a single layer. Freeze in the freezer, then transfer the mint into a labeled freezer bag to store. Since the leaves are frozen separately, you can easily remove the amount you need.
Ice Cube Trays
Clean and thoroughly dry the mint. Mince and pack firmly into ice cube trays 3/4 full. Add water to fill and freeze. Transfer frozen cubes into a labeled freezer bag to store.
Flat Freezer Bag
Clean and thoroughly dry the mint. Chop herb into 1/2" pieces, place in a labeled freezer bag. Squeeze out the air, lay flat and freeze.
Drying Mint
For best results, use dried Mint within 1-2 years.

Hang to Dry
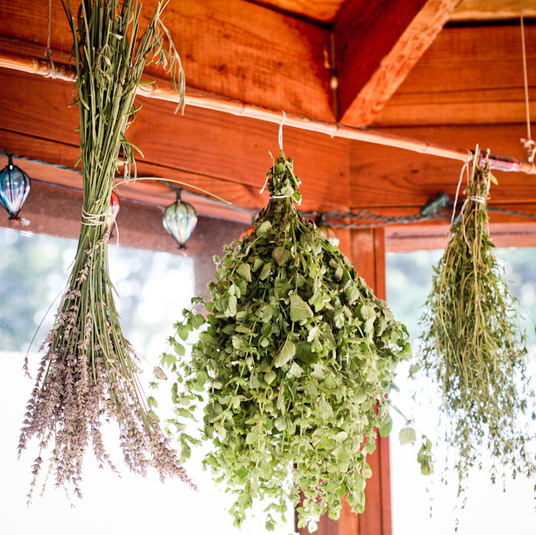
Pick your herbs in bunches right before you intend to store them. Tie the bottom of the bunch together with twine and hang upside down to dry in a dry, low humidity area. For added protection against dust, you can put the bundles inside paper bags with plenty of holes for ventilation. When the herbs are dry, the leaves will crumble easily between your fingers. Store in an airtight container.

Using Mint
- Perfect for summer salads and to liven up a sauce and to brew fragrant teas.
- The flavor is also used to temper spicy curries.
- Mint complements fish, chicken, lamb, and spices up vegetables like carrots and peas.
- Spices up salads, too.
Growing your own herbs is fun, easy, more healthy than the herbs shipped to grocery stores, and what's best, saves you tons of money! Try it today.


Such a helpful post about mint. Always glad to meet another garden blogger!
ReplyDelete