

Starting Cilantro from Seed
Seed Sowing Depth: 1/4” to 1/2” deep.
Best Soil Temp for Germination: 55 – 65 degrees.
Days to Germination 7-10.
Seed Spacing: At 2-3” tall thin to 5” apart.

Spring Sowing
Start seeds indoors 2 weeks before the last frost date to plant out after the danger of frost has passed.Direct Sowing
After the threat of frost has passed and every three weeks until Fall.Fall Sowing
In warmer areas, direct sow in summer for a fall harvest.


Winter Sowing
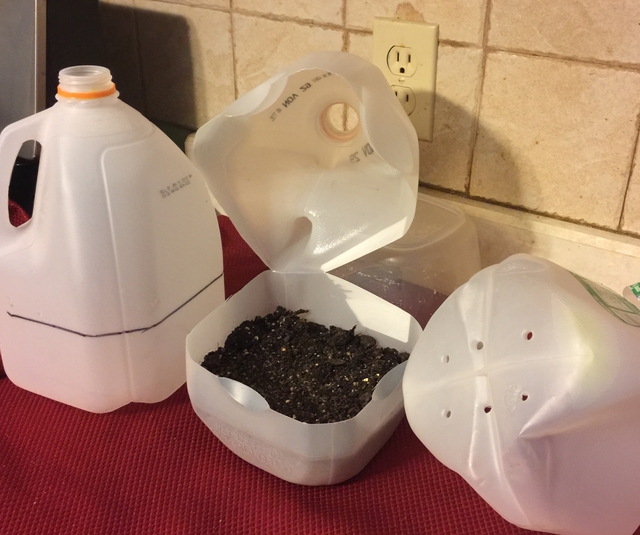
If you haven't tried winter sowing, you're in for a treat. This method is especially good for sowing herbs. Winter sowing is basically sowing seeds in the bottom of a milk jug in the winter, setting the milk jugs outside for the winter and leaving them there until the seeds germinate in the Spring.
Other Sowing Tips
- Cilantro reseeds easily, so give it a place in your garden to do so.
- Cilantro will bolt quickly in hot weather.
Try Audible and Get Two Free Audiobooks
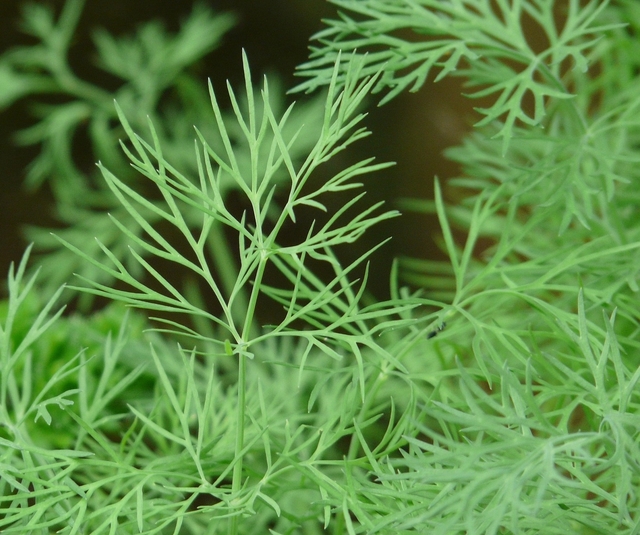
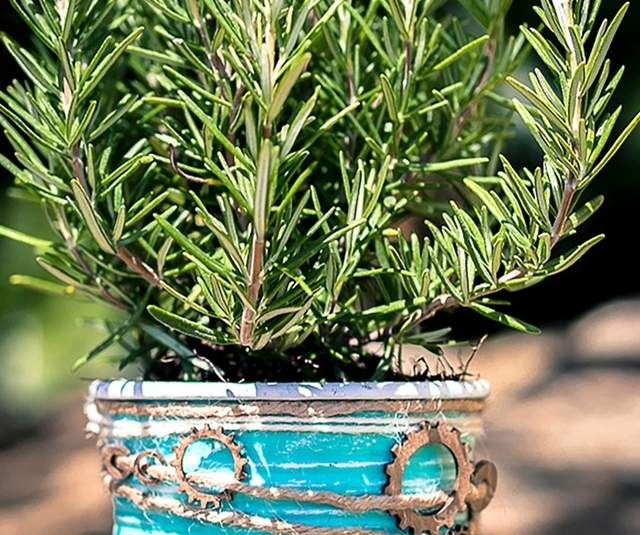
Growing Cilantro
Plant Size: Height 18-24" Width to 18"
Soil Temperature: 50 - 75 degrees.
Spacing in Beds: 6-8"
Container Size: 8-10" deep and 18" wide
Soil: Well draining.
Watering: Dry soil causes the plant to bolt.
Light/Sun: For seeds, full sun. For leaves, light shade.
Fertilizer: Avoid fertilizer if growing for seed since that may actually delay
flowering.
Other Care Tips
- For a continuous supply, make succession sowings every three weeks.
- Snip off the top part of the main stem as soon as it develops flower buds or seed pods.

Harvesting Cilantro Leaves
Leaves can be cut at any time. Use the upper newly-cut leaves for cooking.
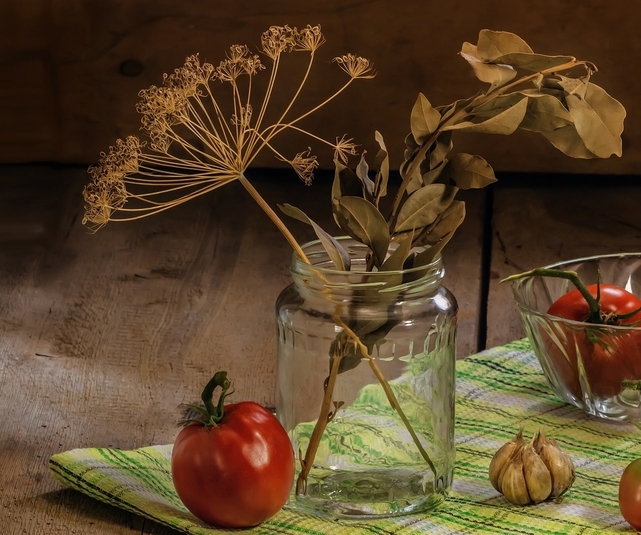
Harvesting Coriander Seeds
Harvest large seeds on a dry day. Cut off the top of stems when the seed pods begin to turn brown and crack if pressed. Place seed pods in a paper bag and let dry. Pods can be rolled around in between your fingers to release the seeds.
Storing Cilantro
Fresh
Bouquet Storage
This method works well for tender herbs with soft stems and leaves.
Clean and thoroughly dry the Cilantro. Trim the ends of the stems and remove any wilted or browned leaves. Place Cilantro in a Mason jar or clear glass with 1" of water like a bouquet of flowers. Loosely cover with a plastic bag or cling wrap. Label and store in the fridge.
Cilantro will stay fresh in the fridge with this method for up to 3 weeks.
Freezing
For best results, use frozen Cilantro within 1 to 2 years. By freezing herbs, you will lose some of the herb's texture but preserve the flavor.
Here are some methods for freezing:
Tray Freeze
Spread the Cilantro onto a cookie sheet on a single layer. Freeze in the freezer, then transfer the herbs into a labeled freezer bag to store. Since the leaves are frozen separately, you can easily remove the amount you need.Ice Cube Trays
Clean and thoroughly dry the Cilantro. Mince and firmly pack herbs into ice cube trays 3/4 full. Add water to fill and freeze. Transfer frozen cubes into a labeled freezer bag to store.
Flat Freezer Bag
Clean and thoroughly dry the Cilantro. Chop herbs into 1/2" pieces, place in a labeled freezer bag. Squeeze out the air, lay flat and freeze.
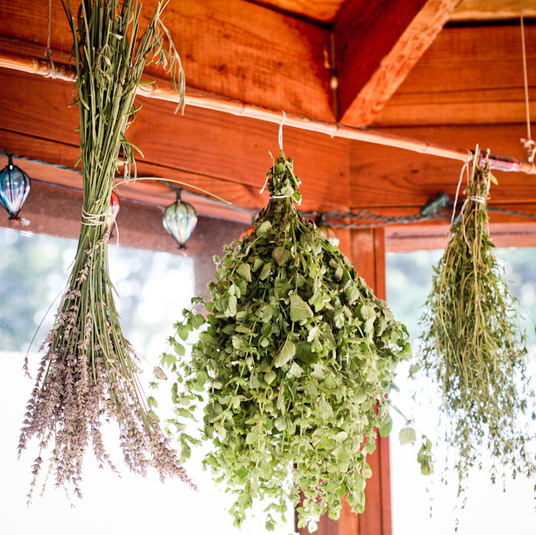
Drying
Cilantro does not dry well.
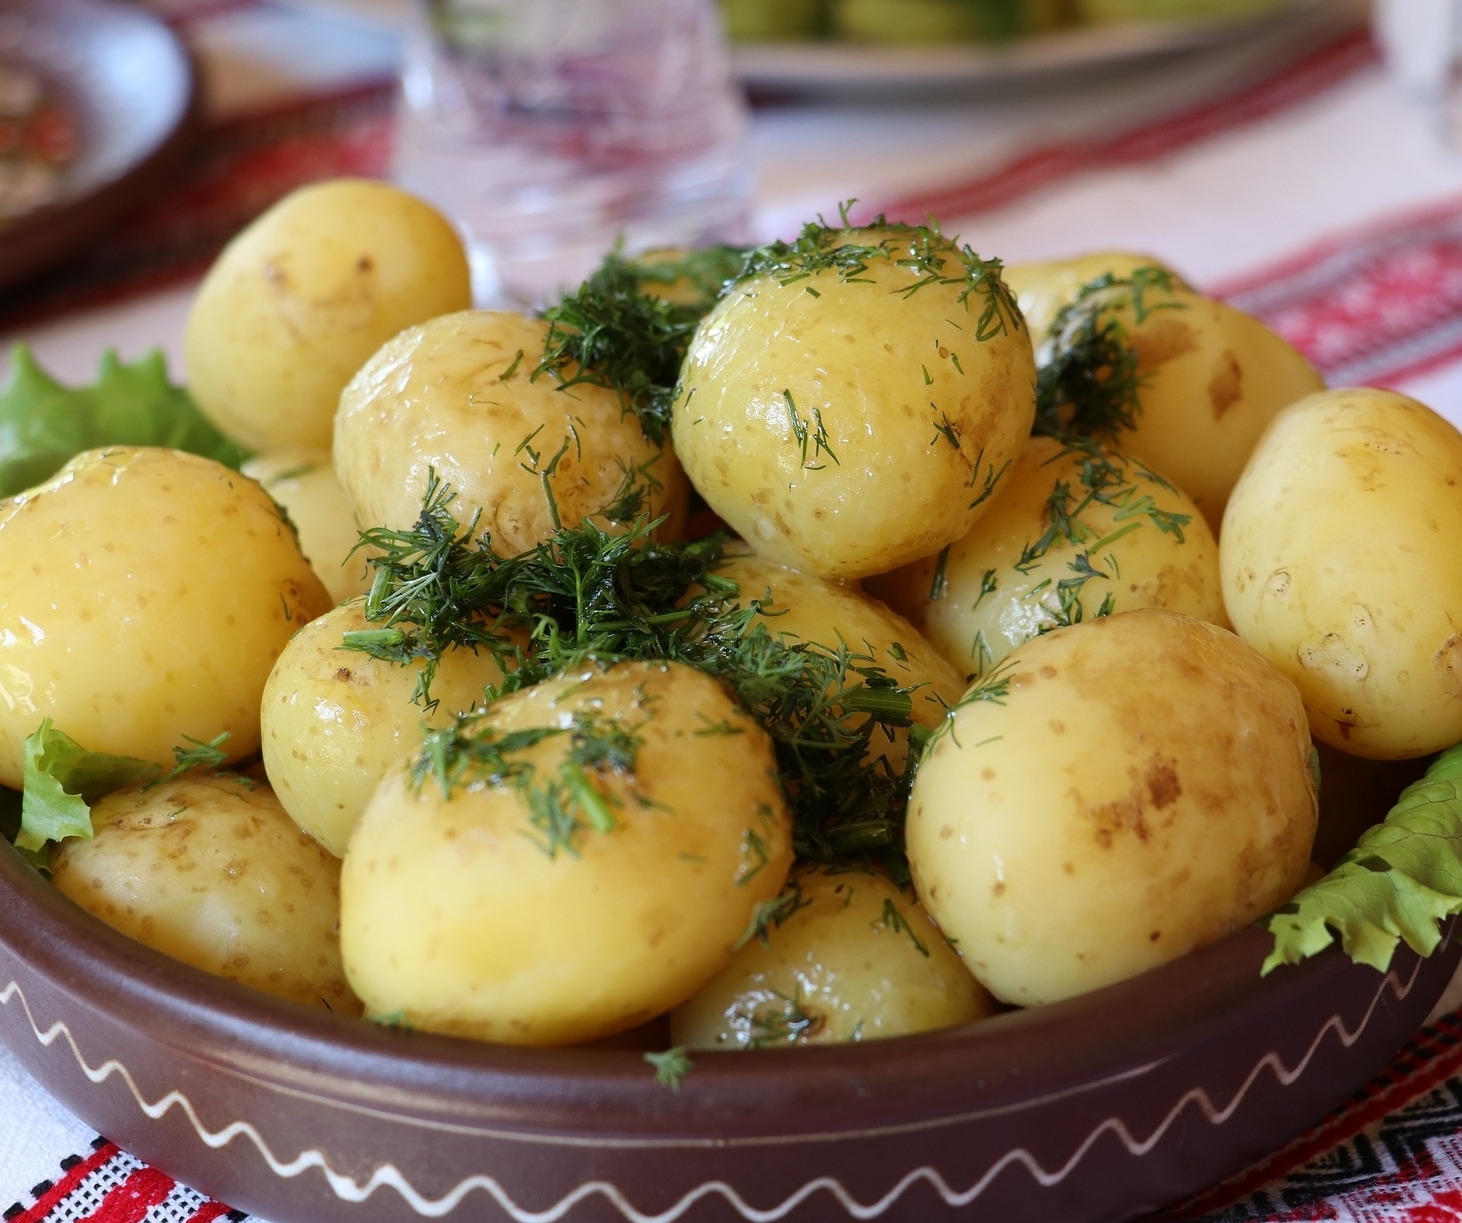
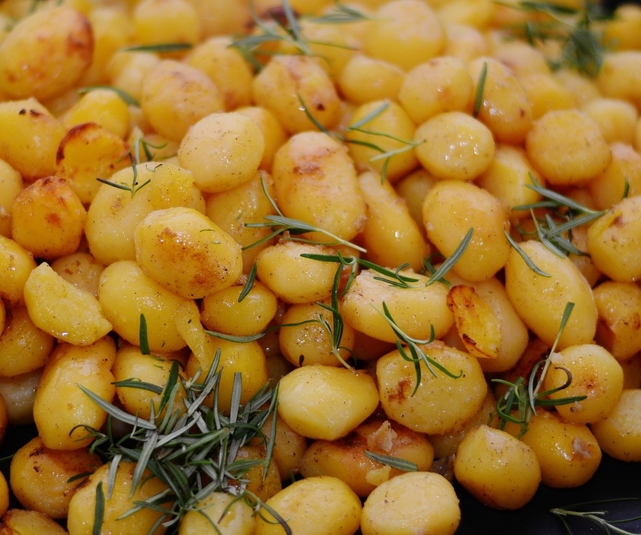
Using Cilantro
- In omelets.
- A staple in Latin and Asian cooking. The sweet stems are usually eaten raw.
- Use fresh whenever possible.
- Sprinkle raw Cilantro on salads or salsas.
- The seeds are mildly spicy. Good for casseroles and baked goods.
- Also adds a nice aroma to the kitchen!