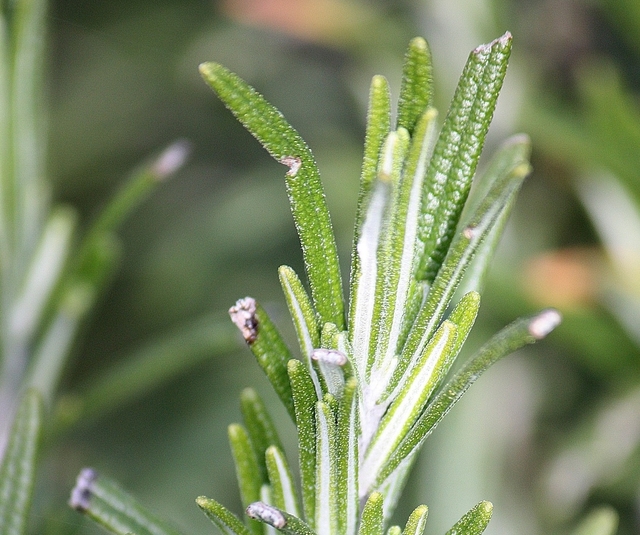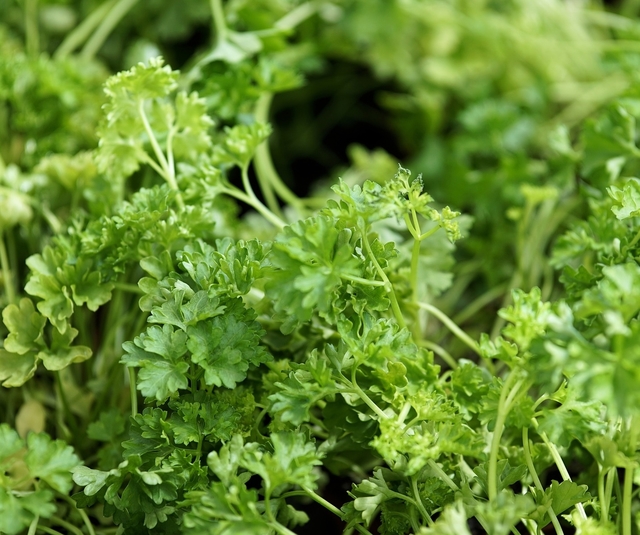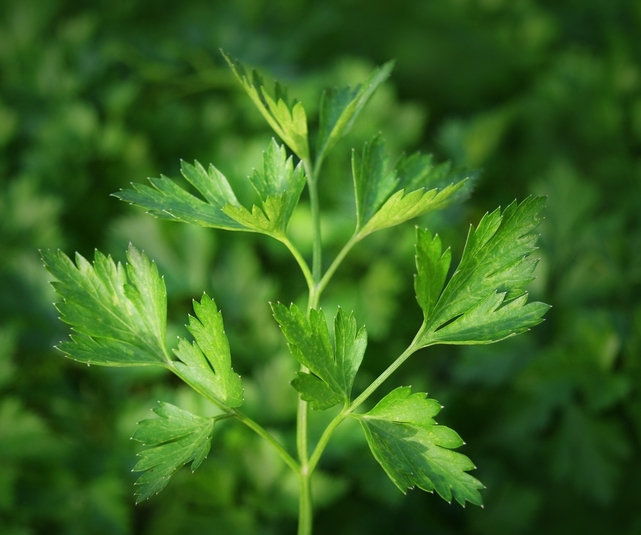

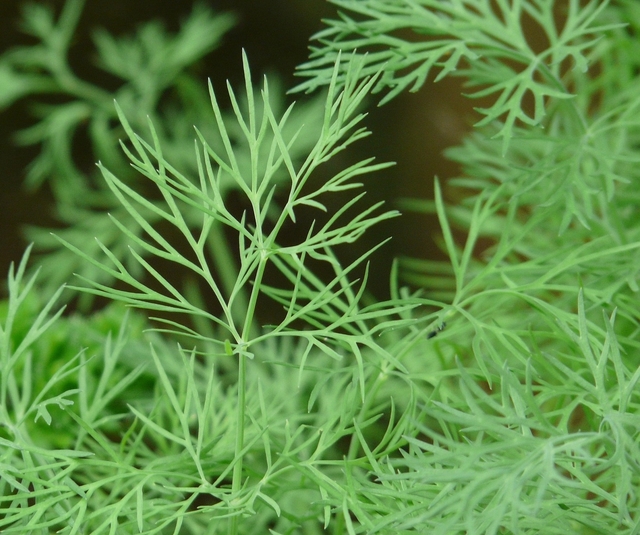
Dill is a warm-season annual herb that has feathery leaves on fronds that add a pleasant anise-like flavor to kinds of seafood, soups, salads, and sauces. Its subtle taste complements fish and shellfish. In addition to providing aromatic seeds and foliage, Dill will brighten your garden with its yellow-green flowers in the spring and fall.
Types of Dill
Bouquet is the most popular Dill grown for its fragrance of leaves and seeds. Used for both pickling and cooking.
Taller Varieties include Mammoth and Long Island and may need to be staked.
Fernleaf Dill Weed (aka the Fish Dill) is popular for its use in fish.


Starting Dill from Seed
Seed Longevity: 3 years.
Seed Dowing Depth: ¼”.
Best Soil Temp for Germination: 60-70 degrees.
Days to Germination: 7-10 days.
Spring Sowing: Direct sow after last frost.
Sow Indoors - Not recommended; does not transplant easily.


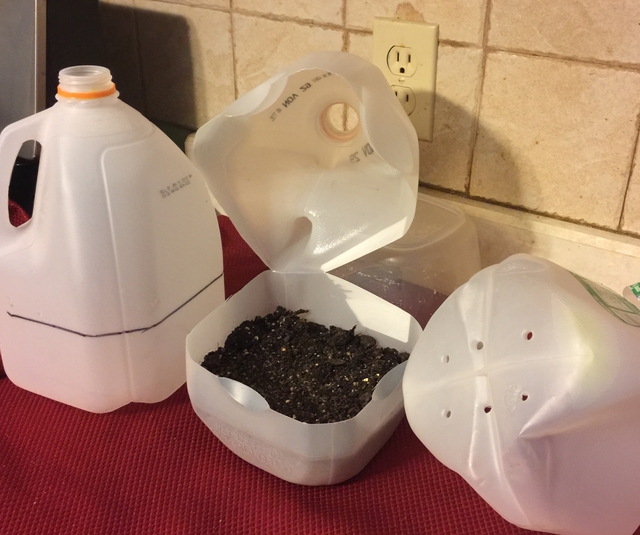
Winter Sowing
If you haven't tried winter sowing, you're in for a treat. This method is especially good for sowing herbs. Winter sowing is basically sowing seeds in the bottom of clear milk jugs in the winter, setting the milk jugs outside for the winter and leaving them there until they germinate in the Spring.For our article containing detailed information about Winter Sowing, click here.
Herb Scissors

Herb Mincer

Growing Dill
Plant size: Generally grows 2-3’.
Growing Soil Temperature: 60– 70 degrees.
Spacing: 12-15”.
Container Size: 20 seeds per 18” pot.
Soil: Well-drained, moderately rich and loose.
Watering: Loves moist soil.
Light/Sun: Full sun 6-8 hours.
Fertilizer: Light to none.
Good Companions: Cabbage, onions.
Bad Companions: Carrots.


Other Care Tips
- Shelter from strong winds.
- It doesn’t transplant well.
- Successive planting every 2-3 weeks for a continuous supply.
- Attracts beneficial insects such as wasps and other predatory insects.
- Attracts bees and butterflies.
- Tall Dill plants may need staking.
- Create a permanent Dill weed patch by allowing seeds to fall and self sow the next season.
Dill Cuttings
By placing Dill cuttings of 4-5” in length into water, the cuttings will grow roots in 3-4 weeks.
Harvesting Dill Leaves
As soon as the plant has 4-5 leaves, you can start to harvest. Pick off remaining leaves just before the flowers open or let seeds develop for harvesting. You can always pinch off leaves as needed.
Harvesting Dill Seeds
After the Dill plant flowers, allow the seed heads to dry on the plant. Cut the entire seed head when seeds are a pale brown. Thoroughly dry seeds and store in an airtight container.
Storing Dill
Fresh
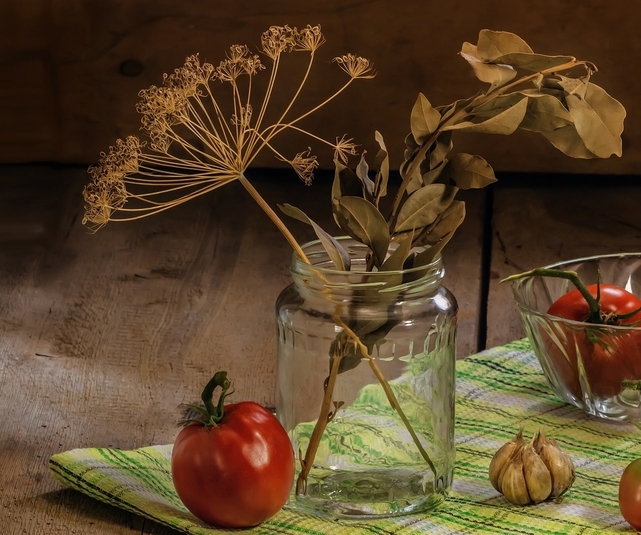
Bouquet Storage
This method works well for tender herbs with soft stems and leaves.
Clean and thoroughly dry the Dill. Trim the end of the stems and remove any wilted or browned leaves. Place the Dill into a Mason jar or clear glass with 1" of water like a bouquet of flowers. Loosely cover with a plastic bag or cling wrap. Label and store in the fridge.
Dill will stay fresh in the fridge with this method for up to 3 weeks.
Freezing
For best results, use frozen Dill within 1-2 years.
By freezing herbs, you will lose some of the herb's texture but preserve the flavor.
Here are some suggestions for freezing Dill.
Tray Freeze
Spread the Dill onto a cookie sheet on a single layer. Freeze in the freezer, then transfer the herbs into a labeled freezer bag to store. Since the leaves are frozen separately, you can easily remove the amount you need.
Ice Cube Trays
Clean and thoroughly dry the Dill. Mince and firmly pack herbs into ice cube trays 3/4 full. Add water to fill and freeze. Transfer frozen cubes into a labeled freezer bag to store.
Flat Freezer Bag
Clean and thoroughly dry the Dill. Chop herb into 1/2" pieces, place in a labeled freezer bag. Squeeze out the air, lay flat and freeze.
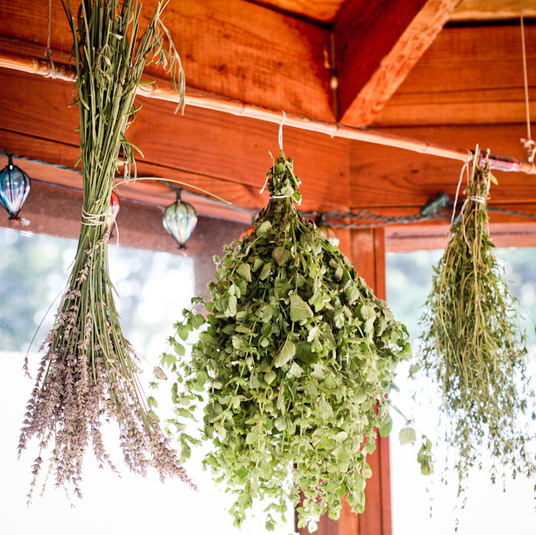
Drying
Dill does not dry well.
Using Dill
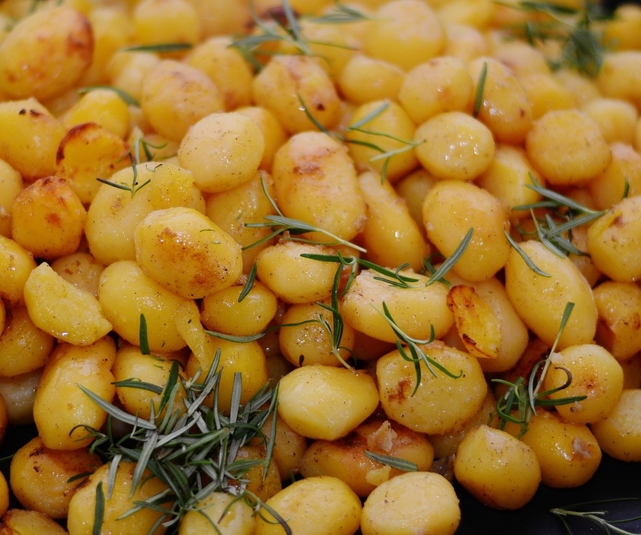
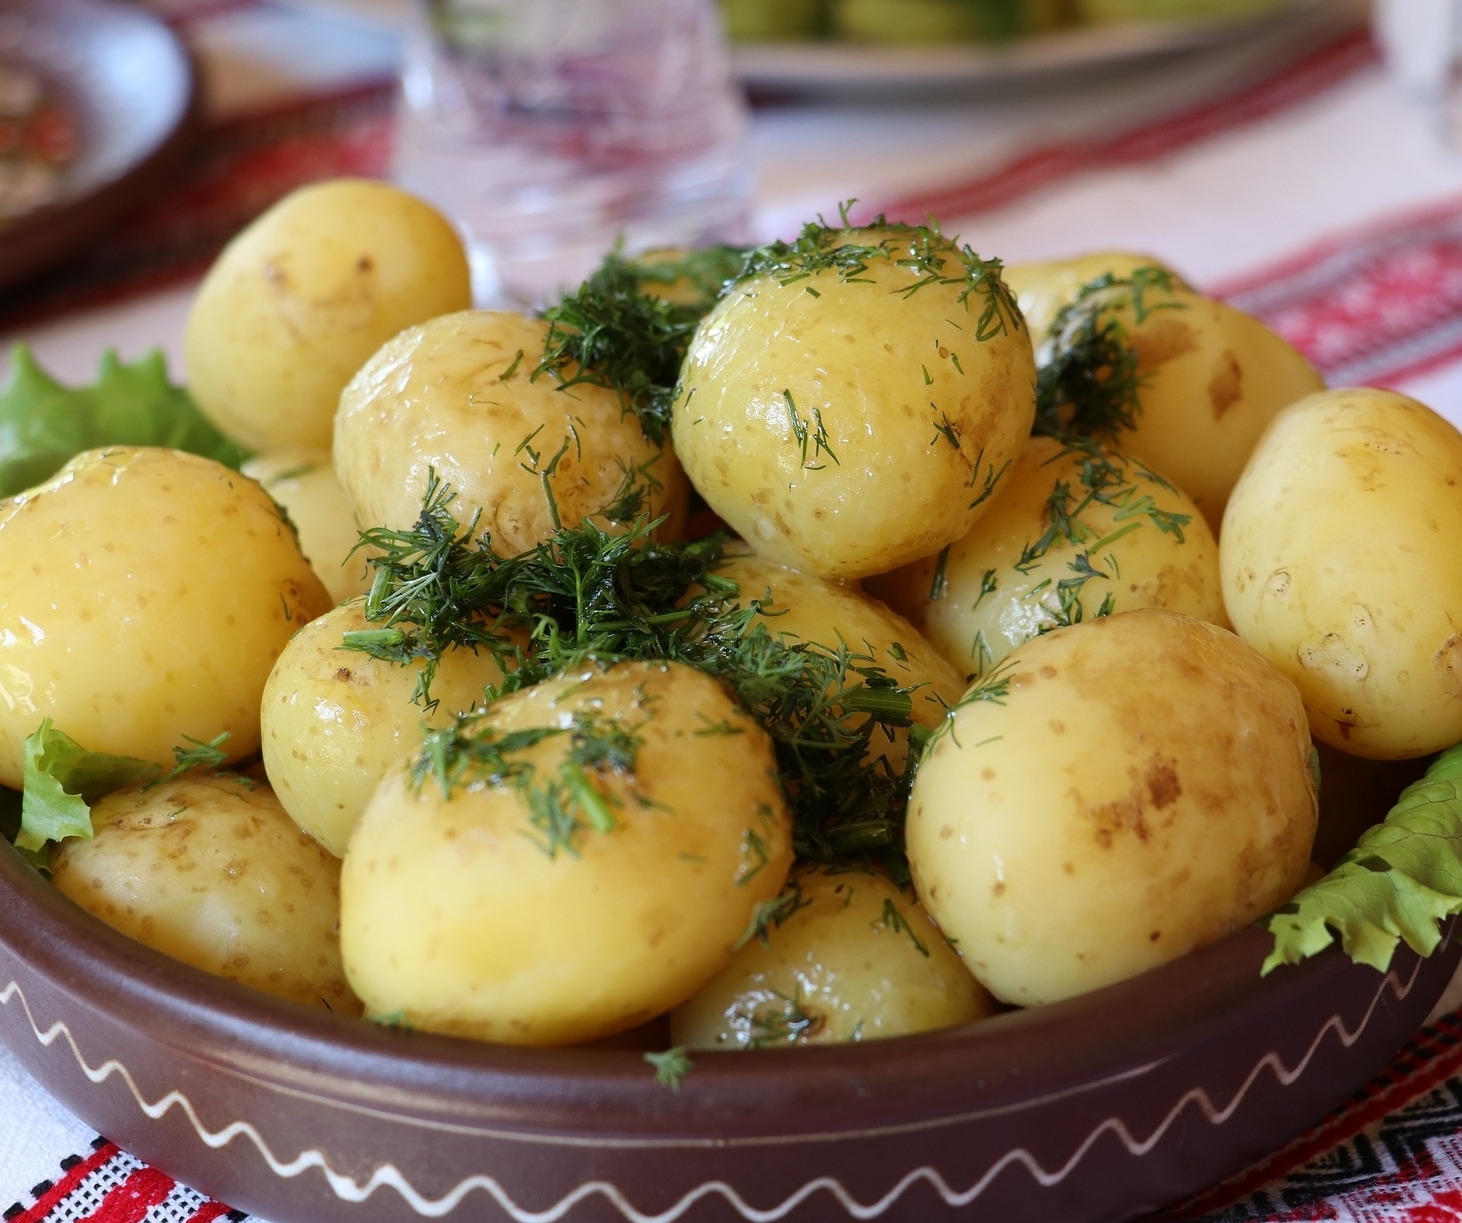
- Brings a great tang to potato recipes.
- A small amount can go a long way, so use sparingly at first.
- Use in salads and salad dressings and of course to pickle cucumbers.
- Delicious accent to eggs, cheese, vegetables, and fish.