Tuesday, June 4, 2024

Growing Dill - Homesteading 101


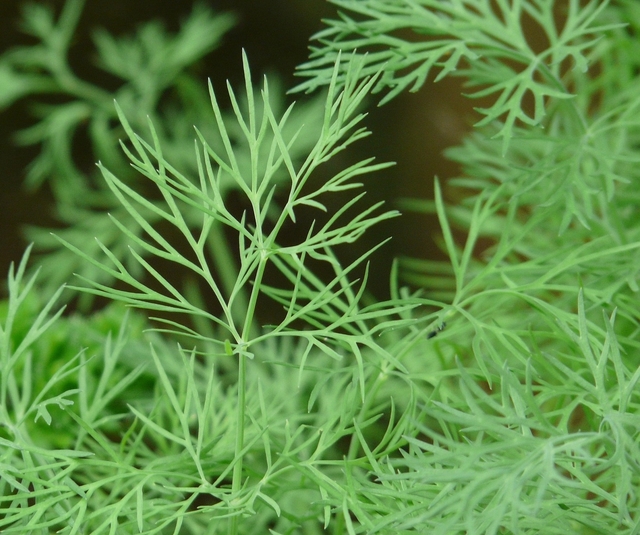
Dill is a warm-season annual herb that has feathery leaves on fronds that add a pleasant anise-like flavor to kinds of seafood, soups, salads, and sauces.  Its subtle taste complements fish and shellfish. In addition to providing aromatic seeds and foliage, Dill will brighten your garden with its yellow-green flowers in the spring and fall.

Types of Dill

Bouquet is the most popular Dill grown for its fragrance of leaves and seeds.  Used for both pickling and cooking.
Taller Varieties include Mammoth and Long Island and may need to be staked.
Fernleaf Dill Weed (aka the Fish Dill) is popular for its use in fish.


Starting Dill from Seed

Seed Longevity:                                     3 years.
Seed Dowing Depth:                              ¼”.
Best Soil Temp for Germination:            60-70 degrees.
Days to Germination:                             7-10 days.
Spring Sowing:                                       Direct sow after last frost.
Sow Indoors - Not recommended; does not transplant easily.


Winter Sowing

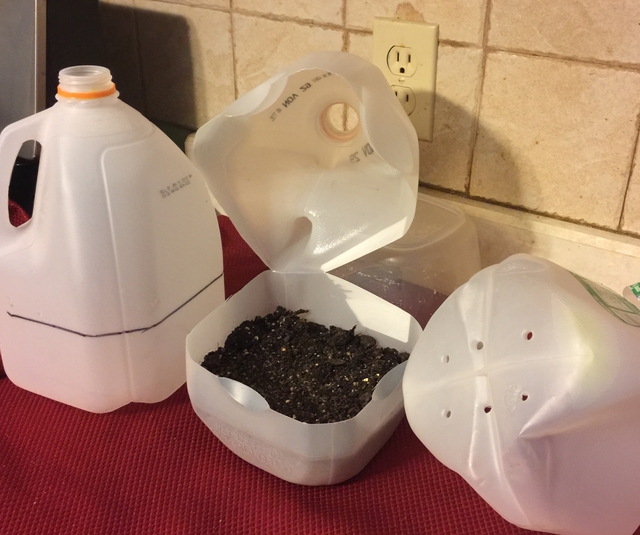
If you haven't tried winter sowing, you're in for a treat.  This method is especially good for sowing herbs.  Winter sowing is basically sowing seeds in the bottom of clear milk jugs in the winter, setting the milk jugs outside for the winter and leaving them there until they germinate in the Spring.

For our article containing detailed information about Winter Sowing, click here.


Herb Scissors


Herb Mincer


Growing Dill

Plant size:                                          Generally grows 2-3’.
Growing Soil Temperature:                60– 70 degrees.
Spacing:                                             12-15”.
Container Size:                                  20 seeds per 18” pot.
Soil:                                                    Well-drained, moderately rich and loose.
Watering:                                            Loves moist soil.
Light/Sun:                                           Full sun  6-8 hours.
Fertilizer:                                            Light to none.
Good Companions:                            Cabbage, onions.
Bad Companions:                              Carrots.


Other Care Tips                   

  • Shelter from strong winds.
  • It doesn’t transplant well.
  • Successive planting every 2-3 weeks for a continuous supply.
  • Attracts beneficial insects such as wasps and other predatory insects.
  • Attracts bees and butterflies.
  • Tall Dill plants may need staking.
  • Create a permanent Dill weed patch by allowing seeds to fall and self sow the next season.


Dill Cuttings

By placing Dill cuttings of 4-5” in length into water, the cuttings will grow roots in 3-4 weeks.


Harvesting Dill Leaves


As soon as the plant has 4-5 leaves, you can start to harvest.  Pick off remaining leaves just before the flowers open or let seeds develop for harvesting.   You can always pinch off leaves as needed.

Harvesting Dill Seeds

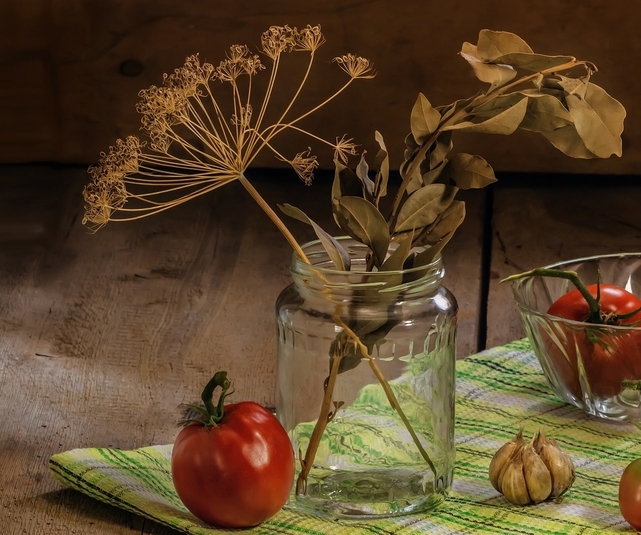
After the Dill plant flowers, allow the seed heads to dry on the plant.  Cut the entire seed head when seeds are a pale brown.  Thoroughly dry seeds and store in an airtight container.


Storing Dill

Fresh
Bouquet Storage

This method works well for tender herbs with soft stems and leaves.
Clean and thoroughly dry the Dill.  Trim the end of the stems and remove any wilted or browned leaves.  Place the Dill into a Mason jar or clear glass with 1" of water like a bouquet of flowers.  Loosely cover with a plastic bag or cling wrap.  Label and store in the fridge.

Dill will stay fresh in the fridge with this method for up to 3 weeks.


Freezing

For best results, use frozen Dill within 1-2 years.
By freezing herbs, you will lose some of the herb's texture but preserve the flavor.
Here are some suggestions for freezing Dill.

Tray Freeze

Spread the Dill onto a cookie sheet on a single layer. Freeze in the freezer, then transfer the herbs into a labeled freezer bag to store.  Since the leaves are frozen separately, you can easily remove the amount you need.


Ice Cube Trays

Clean and thoroughly dry the Dill.  Mince and firmly pack herbs into ice cube trays 3/4 full.  Add water to fill and freeze.  Transfer frozen cubes into a labeled freezer bag to store.


Flat Freezer Bag

Clean and thoroughly dry the Dill.  Chop herb into 1/2" pieces, place in a labeled freezer bag. Squeeze out the air, lay flat and freeze.


Drying

Dill does not dry well.

Using Dill


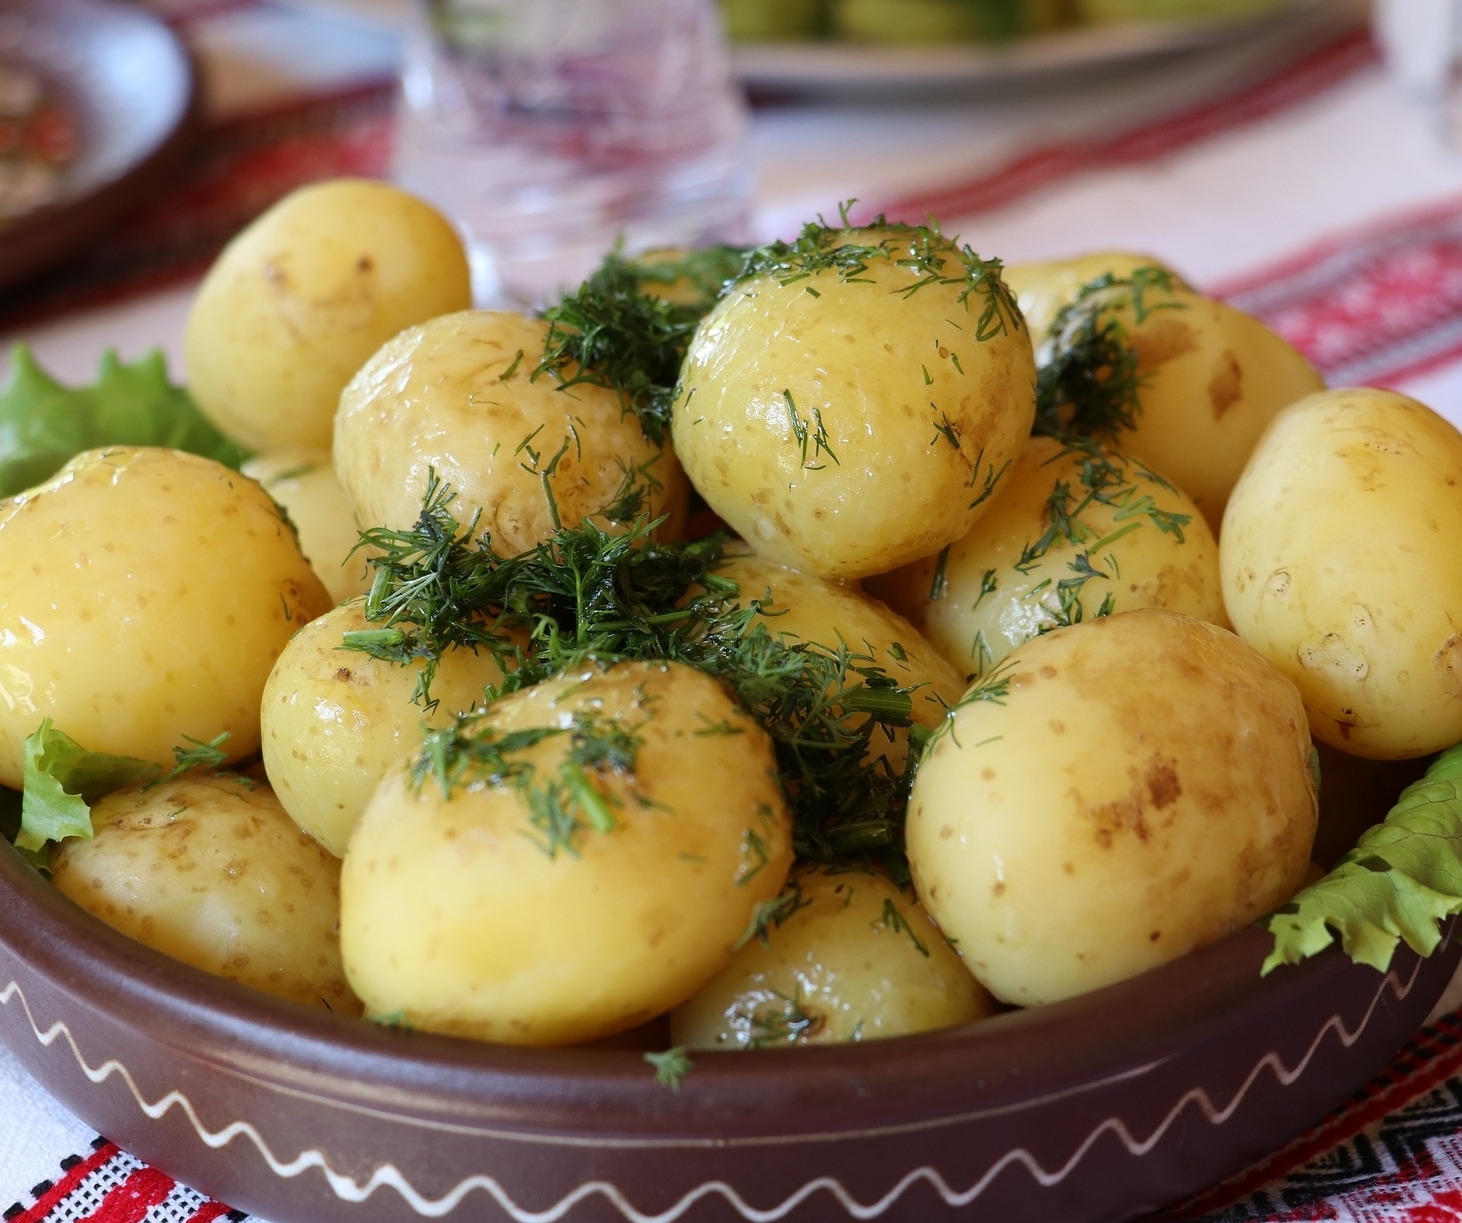
  • Brings a great tang to potato recipes.
  • A small amount can go a long way, so use sparingly at first.
  • Use in salads and salad dressings and of course to pickle cucumbers.
  • Delicious accent to eggs, cheese, vegetables, and fish.


Growing your own herbs is fun, easy, more healthy than the herbs shipped to grocery stores, and what's best, saves you tons of money! Try it today.


Where to go next!

Great Garden Articles -- Full List!
Follow us on Pinterest!
Back to Our Blog Homepage!


This post may contain some Amazon Associate links meaning that I will get a small compensation at no expense to you if you purchase something from this blog.

Wednesday, May 29, 2024

Signs of Spoilage in Home Canned Food


Signs of Spoilage in Home Canned Food


When preserved correctly, homemade canned foods won't go bad, ever. But realistically speaking, the food can last for at least two to five years easily without compromising on the taste or nutritional value.

Monday, May 27, 2024

How to fix Hosta Center Die-Out

Large clump of Golden Tiara Hosta


How to Fix Hosta Center Die-Out

Also Known as Fairy Ring


Hosta center die-out is sometimes referred to as "clump die-back" and “fairy ring.” The latter is a nickname given to this problem that is said to result from fairies dancing in the middle of the plant.


It's a common problem with hostas since they are a very long-lived perennial, but this problem can be easily remedied. 

Sunday, May 19, 2024

Fruit Prep for Making Jellies


Fruit Preparation for Making Jellies


The water bath is the simplest method for canning and is suitable for most high acid harvests, including fruit and pickled vegetables.


Free Printable Pressure Canning Steps in PDF


The following instructions are for water bath canning the follow fruits, then how to process them in five easy steps!


How to Prepare Each Fruit


Apple

Wash, stem and cut into chunks. (Do not core.) Combine apples and three cups of water in a stainless steel or enameled Dutch oven. Cover and simmer for ten minutes. Crush and simmer five more minutes.


Berries


Wash. Crush one layer at a time with a potato masher in a stainless steel or enameled Dutch oven. Cover and bring to a simmer. Simmer five minutes.

Free PrintOut of 


Cherries


Dark Sweet Cherries

Remove stems. Pit and chop. Cover and bring to a simmer in a stainless steel or enameled Dutch oven with six tablespoons of water and two tablespoons of lemon juice. Simmer ten minutes.


Tart Red Cherries

Remove stems. Pit and chop. Cover and bring to a simmer in a stainless steel or enameled Dutch oven with six tablespoons of water. Simmer ten minutes.


Currants


Wash. Crush one layer at a time with a potato masher in a stainless steel or enameled Dutch oven. Cover and bring to a simmer with ten tablespoons of water. Simmer for ten minutes.


Grapes

Wash. Crush one layer at a time with a potato masher in a stainless steel or enameled Dutch oven. Cover and bring to a simmer with ten tablespoons water. Simmer ten minutes.


Plums


Halve, pit and finely hop. Cover and bring to a simmer with ten tablespoons water in a stainless steel or enameled Dutch oven. Simmer ten minutes.


Strawberries


Wash. Crush one layer at a time with a potato masher in a stainless steel or enameled Dutch oven. Cover and bring to a simmer. Simmer five minutes.


            The Five Easy Steps


Step 1

Prepare chosen fruit according to the chart above. Pour prepared fruit mixture through a wire mesh sieve lined with three layers of damp cheesecloth into a bowl.


Let drain two to four hours or until juice measures three cups. To avoid cloud jelly, do not press of squeeze fruit mixture.


Step 2


Combine fruit juice and four tablespoons of Ball Classic Pectin in a large stainless steel or enameled saucepan. Bring the mixture to a rolling boil that cannot be stirred down over high heat, stirring constantly.


Step 3


Add three and one third cups of sugar, stirring to dissolve. Return to a full rolling boil. Boil hard one minute, stirring constantly. Remove from the heat and skim the foam.


Step 4


Ladle hot jelly into a hot jar, leaving one quarter inch headspace. Place jar in boiling water canner. Repeat until are jars are filled.


Step 5

Process jars for ten minutes, adjusting for altitude.


~~~~~~~~~~~~~~~~~~~~~~~~~~~~~~~~~~~


Water-bath canning, also called boiling water bath, is the easier method of canning that lets you store homemade jars of jam, pickles, and tomato sauce.


So if you're canning your own home grown fruit or taking advantage of those sales, by processing your fruits, you can lock in the fresh flavor for a full year and longer!

~~~~~~~~~~~~~~~~~~~~~~~~~~~~~~~~~


Saturday, May 18, 2024

Are Hostas Drought Tolerant?


Guacamole Hosta in full Bloom


Are Hostas Drought Tolerant?


Reducing our dependence on water is one way gardeners love to be eco-friendly, so it comes as no surprise that drought-tolerant plants continue to be in high demand.


But are all hostas really drought tolerant? The answer is yes, and no.

Tuesday, May 14, 2024

The Role of Vinegar in Canning


Which Vinegar to use in Canning

The Role of Vinegar


If you have been looking into the process of canning your own food, you've undoubtedly noticed a lot of talk about safe canning.  Some of the most-asked canning questions relate to the correct use of vinegar.

Monday, May 13, 2024

Winter Care for your Potted Hostas


Wintery ice with light blue background


Winter Care for your Potted Hostas!


A frequent question we get is, will hostas survive over the winter in pots, or, how can I winterize my potted hostas?   Although hostas are very forgiving plants, hostas in pots do need some care 
over the winter. 


Hostas need a six-week period of temperatures below 40 degrees for their winter sleep. But since during this time the potted hostas can be exposed to several freezes and thaws, they need extra care to prevent damage to their roots.

Popular Posts