The Role of Vinegar in Canning
Which Vinegar to use in Canning
The Role of Vinegar
If you have been looking into the process of canning your own food, you've undoubtedly noticed a lot of talk about safe canning. Some of the most-asked canning questions relate to the correct use of vinegar.
Winter Care for your Potted Hostas
Winter Care for your Potted Hostas!
A frequent question we get is, will hostas survive over the winter in pots, or, how can I winterize my potted hostas? Although hostas are very forgiving plants, hostas in pots do need some care over the winter.
Hostas need a six-week period of temperatures below 40 degrees for their winter sleep. But since during this time the potted hostas can be exposed to several freezes and thaws, they need extra care to prevent damage to their roots.
Growing Swiss Chard - Homesteading 101
Swiss Chard
aka Spinach Beet, Leaf Beet
Annual, Perennial in warmer climates.
Height: 1-3' Width: Up to 2'
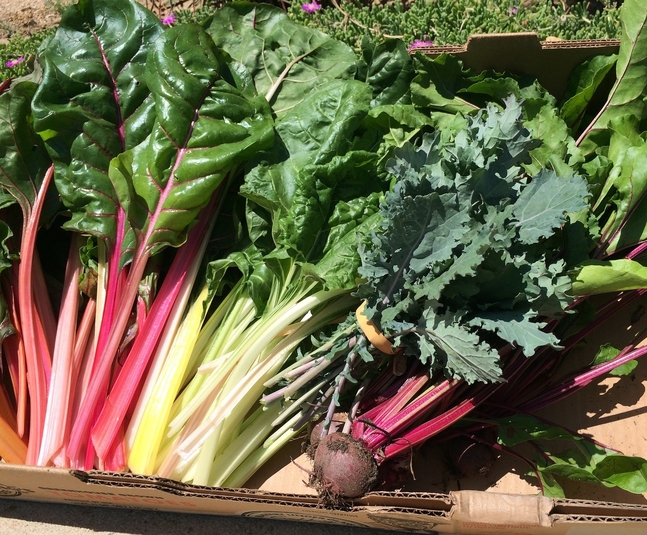
Swiss Chard is both edible and beautiful as an ornamental plant. It has colorful stems and bright green leaves making it as glamorous as it is nutritious. It is high in vitamins A and C and a good source of calcium. Swiss Chard will keep growing long after other greens have bolted.
Types:
Reddish, creamy white or colorful stalks, all of which taste mostly the same.
Starting Seeds of Swiss Chard
Seed Depth: 1/2" to 3/4" deep.Seed Spacing: 4", or thin seedlings later to 4" apart.
Germination Temp: 50+ degrees. Optimum 85 degrees.
Days to Germinate: 5-7 days.
Days to Harvest: 40 - 60 days, depending on the variety.
Seed Longevity: 4 years.
Sowing Indoors:
Spring: Sow 2 weeks before your average last frost date. Plant outside after threat of frost has passed.
Sowing Outdoors:
Spring: Direct Sow outdoors after the last frost date.
Fall: Direct Sow 10 weeks before the average first frost date.
Winter Sowing
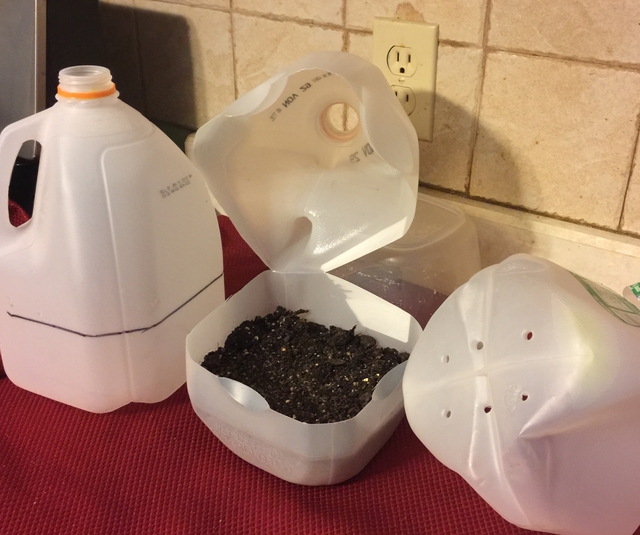
If you haven't tried winter sowing, you're in for a treat. This method is especially good for sowing herbs and greens. Winter sowing is basically sowing seeds in the bottom of a milk jug during the winter, setting the milk jugs outside for the winter and leaving them there until the seeds germinate in Spring.See our Winter Sowing article on our website for detailed information.
Growing Swiss Chard Plants
Growing Temperature: Tolerates both cool weather and heat.
Tolerates light frosts in the spring and fall.
Plant Spacing: 5" to harvest often. Mature plants 12".
Container Size: 12" deep, 12" wide. 3 in a 14" wide pot.
Sun/Shade: Prefers sun, but will tolerate shade.
Soil: Rich, fertile. Amend with some compost.
Watering: Consistent moisture for best flavor.
Fertilizing
Since greens are such a fast-growing crop, as long as they are grown in rich soil there may be little need for further fertilization. That said, a liquid balanced fertilizer when the seedlings are 4" tall will give your greens a boost and carry them through their short season. After the temperatures warm, though, the leaves of Swiss Chard will turn bitter and no amount of fertilizer will help at that point.Harvesting Swiss Chard
Harvest anytime leaves are big enough to eat, usually at 6".
Cut stalks from the outside of the plant, leaving the heart which will continue to grow. Overgrown chard will lose flavor.
Using Swiss Chard
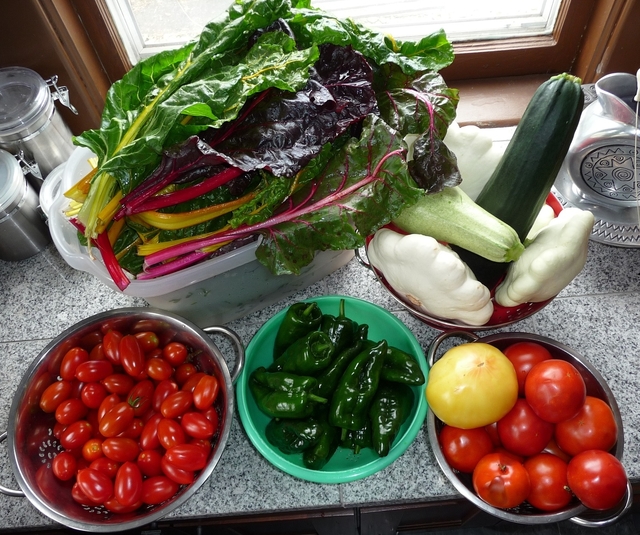
- Use young raw leaves in salads.
- Large leaves can be cooked down like Spinach to use in casseroles, soups, and pasta.
Storing Swiss Chard For Later Use
Although tender green-leafed plants, like lettuce, cannot be preserved well, the thicker green-leafed plants can be.Fresh
- Clean and pat dry. Bundle stems lightly, place on a paper towel (to absorb moisture) and wrap in a plastic bag. Keeps in refrigerator for 10 days.
Freezing for Later Use in Chilis, Soups, Sauces, and Casseroles.
- Steam or saute' leaves, chop them and store in freezer bags.
- Puree with water and freeze into ice cube trays.
- Clean and dry the leaves and store in quart size freezer bags.
- Frozen leaves will keep for 6 months.
- Blanching the leaves first will extend freezer storage to 14 months.
This post may contain Amazon affiliate links and as an Amazon Associate I earn from qualifying purchases without costing you anything extra.
Growing Rosemary - Homesteading 101
Rosemary is a hardy evergreen shrub that is a staple in any herb garden. Perennial in Zones 7 – 10 (and borderline Zone 6), Rosemary is one of the most aromatic and pungent of all of the woody herbs. The leaves have a lemony flavor that pairs well with lamb, garlic and olive oil. The flowers can be blue, pink, purple or white.
Starting Rosemary from Seed
Rosemary can be difficult to grow from seed and often does not grow true to their parent plant. Taking cuttings is recommended as opposed to seed sowing, but here's the information in case you prefer to try.
Seed Longevity: 1 year.
Seed Sowing Depth: Just cover. Needs some light to germinate.
Best Soil Temp for Germination: 70 degrees. Heat mat will help.
Days to Germination: 14-21+ days.
Spring Sowing
Sow indoors 10-12 weeks before the last frost date to plant out after the last frost date.
Don't transplant seedlings until they're well established.
Winter Sowing
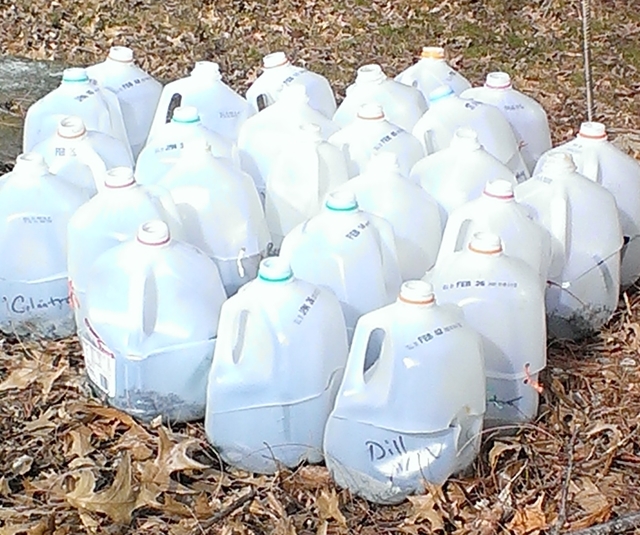
If you haven't tried winter sowing, you're in for a treat. This method is especially good for sowing herbs. Winter sowing is basically sowing seeds in the bottom of milk jugs in the winter, setting the milk jugs outside for the winter and leaving them there until the seeds germinate in the Spring.
For our article containing detailed information about Winter Sowing, click here.
Growing Rosemary
Plant Size: Height 1-8’ Width 2-4’.
Spacing: Up to 3'.
Container Size: 12” Deep 12” Wide.
Soil: Sandy, well-drained.
Light/Sun: Full sun, 6 to 8 hours of sunlight.
Fertilizer: 5-10-5 in Spring.
Other Care Tips
Watering:
It needs excellent drainage. Relatively drought tolerant. Let the soil dry out between waterings.
Will grow back after extensive pruning.
Dividing Rosemary
Rosemary is a small woody shrub that should not be divided. However, since Rosemary has rooted layers, the layers (branches that have developed roots while touching the soil) can be cut off the parent plant, dug up and replanted as though they were a division.
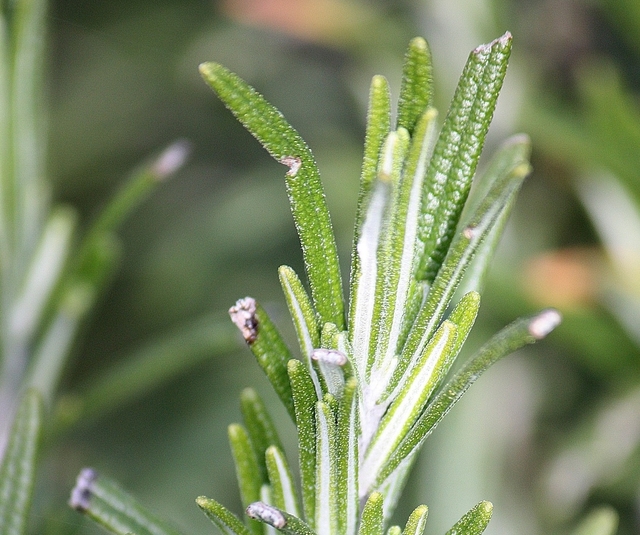
Rosemary Cuttings
Take a 4” cutting from the tip of the stem. Remove leaves 1” from the base. Put cutting in peat moss and vermiculite medium. The cutting will root in 3-4 weeks. Transfer to a 4” pot to let the root ball form, then transfer into larger pot or garden.
Harvesting Rosemary
Snip off sprigs of Rosemary all summer and into the fall and winter as needed. It is possible to bring small plants inside.
Harvesting Rosemary Seed
The seed pods are very small. Let them dry out on the plant, then remove them by pinching them off with your fingers. Dry pods thoroughly in a paper bag for two weeks. After they’re dry, rub pods to release the seeds. Store in an airtight container.
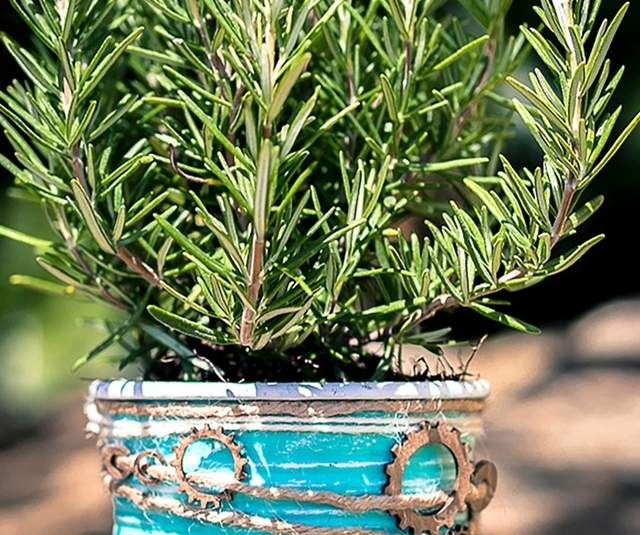
Storing Rosemary
Fresh
Damp Paper Towel
This method works well for hardy herbs that have woody stems as well as a few soft-stemmed herbs.
Clean and thoroughly dry the Rosemary. Arrange lengthwise in a single layer on a slightly damp paper towel. Loosely roll up the herb and transfer to a plastic bag or plastic wrap. Label and store in the fridge. Rosemary will stay fresh in the fridge using this method for up to 3 weeks.
Try Audible and Get Two Free Audiobooks
Try Audible and Get Two Free Audiobooks
Freezing
For best results, use frozen Rosemary within 1-2 years.
By freezing herbs, you will lose some of the herb's texture but preserve the flavor.
Here are some freezing methods to consider:
Tray Freeze
Spread the Rosemary onto a cookie sheet on a single layer. Freeze in the freezer, then transfer the Rosemary into a labeled freezer bag to store. Since the leaves are frozen separately, you can easily remove the amount you need.
Ice Cube Trays with Oil
This method works well for hard-stemmed herbs that would probably be cooked when adding to a dish. The oil reduces some of the browning and freezer burn.
Clean and thoroughly dry the Rosemary. Mince and firmly pack herbs into an ice cube tray 3/4 full. Add Olive Oil to fill and freeze. Transfer frozen cubes into labeled freezer bags to store.
Flat Freezer Bag
Trim off the stems and place them in a labeled freezer bag. Squeeze out the air, flatten the freezer bag, label and store.
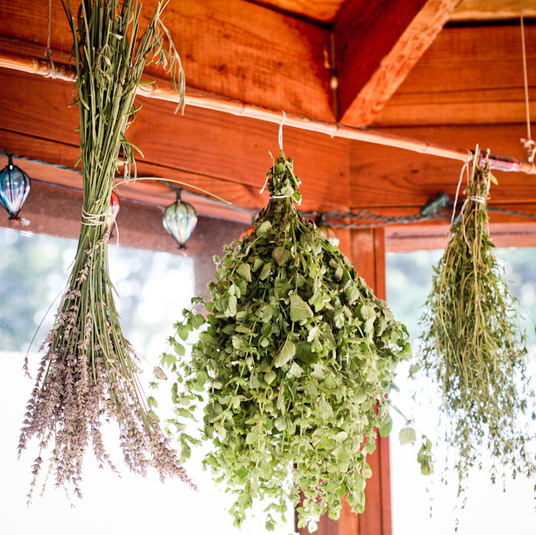
Drying Rosemary
Rosemary is one of the best herbs to dry. For best results, use dried Rosemary within 1-2 years.
Hang to Dry
Pick your Rosemary in bunches right before you intend to store them. Tie the bottom of the bunch together with twine and hang upside down to dry in a dry, low humidity area. For added protection against dust, you can put the bundles inside paper bags with plenty of holes for ventilation. When the herbs are dry, the leaves will crumble easily between your fingers. Store in an airtight container.
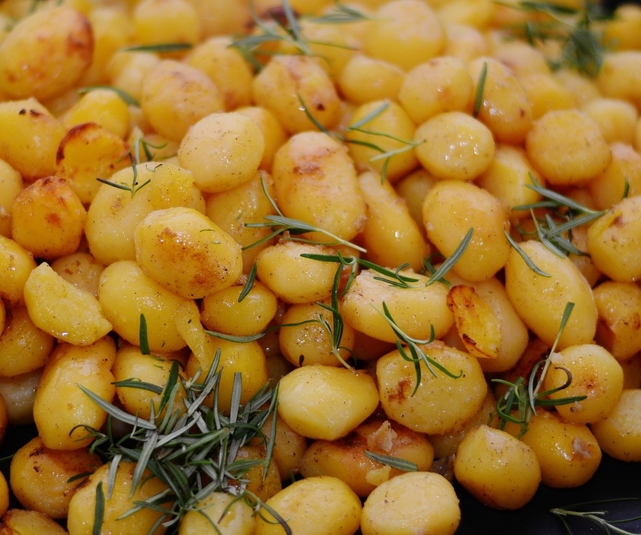
Using Rosemary
- Great when used with pork, chicken, and potatoes.
- Rosemary’s spiky leaves can be used fresh or dried for long cooking in soups, meats, stews, and sauces.
- Because the flavor is so strong, it’s best to add Rosemary sparingly at first adding more if needed.
~~~~~~~~~~~~~~~~~~~~~~~~~~~~~~~~~~~~~~~~~~~~~~~~~~~~~~~~~~~~~~~~~~~~~~
Growing your own herbs is fun, easy, more healthy than the herbs shipped to grocery stores, and what's best, saves you tons of money! Try it today.
~~~~~~~~~~~~~~~~~~~~~~~~~~~~~~~~~~~~~~~~~~~~~~~~
This post may contain some Amazon Associate links meaning that I will get a small compensation at no expense to you if you purchase something from this blog.
Hori Hori Knife - Why You Need One!
Hori Hori Knives and Why Every Gardener Needs One
While the Hori Hori knife has been around for quite a while, with its beginnings from Japan, it has recently just caught the attention of many gardeners because of the knife's strong build and versatility of garden uses.
When and How to Divide Hostas
When and How to Divide your Hosta
Whether you want to divide your hostas for the healthy of the plants or to increase the hosta love around your garden, dividing a hosta is easy to do once you're familiar with the timing and some basic steps.
What Are Sun Tolerant Hostas?
What are Sun Tolerant Hostas?
One of the most common questions I hear about hostas is, can hostas handle sun?
You Have Winter Sown Seedlings! Now what?
Winter Sown Seeds Have Germinated!Now what?
So you’ve tried the winter sowing method and found out that it’s easy and it works. Mother Nature woke the seeds out of their sleep and now you’re getting lots of little seedlings popping up in their snug, cozy containers.
How To Harden Off Seedlings
How to Harden Off Seedlings
Getting your seedlings to a healthy state and ready for the great outdoors can be a challenge in itself.
They've been loved and pampered indoors, probably under fluorescent grow lights with pretty consistent temperatures. So there's no doubt that it can be a big shock for them when they are moved to the variable and sometimes harsh elements outside.
Causes of Canning Jar or Contents Darkening
Four Reasons Canning Jar Contents Darken
First, how pressure canners work to keep food safe.
Pressure Canners basically heat the jars to a temperature high enough to destroy the microorganisms that could cause food spoliage and or foodborne illness. The heating process also removes air from the product and creates a vacuum which helps to prevent recontamination by harmful microorganisms.
Subscribe to:
Posts (Atom)
Featured Post
Welcome!
Thanks to you, we've hit over 1.7 MILLION pageviews! Homesteading is a journey, an adventure, and an ever-evolving quest to make our h...


