Growing Pumpkins for Fall Decor
If you've priced the cost of buying pumpkins and other winter squash for your Fall display lately, you've probably discovered that growing them from seed would definitely be worth your time.
Pumpkins and Winter Squash are some of the easiest vegetables to grow from seed. The information in this article references Pumpkins, but the growing information is the same for winter squashes.
Pumpkins need three months or more of frost-free growing time. They are very frost sensitive both at the beginning and end of the season.
There are two ways to start your seeds; direct sowing and indoor sowing.
Timing your Pumpkins for a Fall harvest
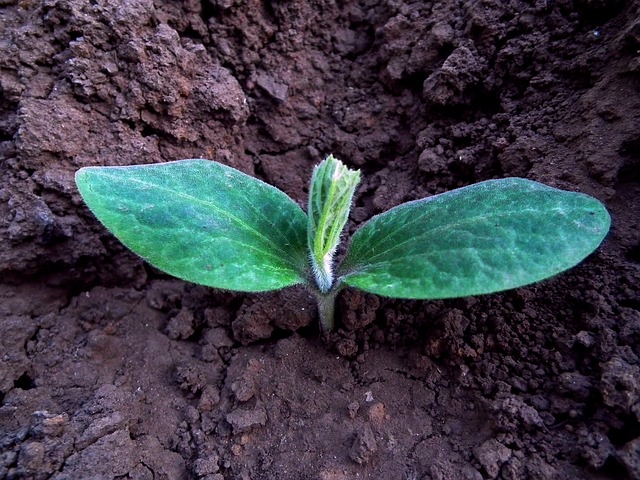
Direct Sowing
You can safely direct sow your pumpkin seeds into a full sun area of your garden after all danger of frost has passed. The optimum soil temperature for seed germination is 70-90 degrees, the warmer the better.
In the warmer areas south of Zone 6, this is usually late May. For areas north of Zone 6, this is usually mid-July. I am located in Zone 6, and my go-to time for sowing pumpkin seeds is early to mid-June.
Sow the seeds 6" apart at a depth of 1 to 1 1/2 inches. If the soil temperature is warm enough, expect the seeds to germinate in 6 to 10 days.
A few weeks after the seedlings appear, remove the weaker ones by snipping them off at the soil level with scissors. Keep the healthiest ones. Your final spacing should be 12" apart.
Timing the direct sowing of your pumpkin seeds is important because if you sow the seeds outdoors too early, the seeds may rot in the cold or simply not germinate. If you sow the seeds too late, you may not have enough time to get the crop you wanted.
Indoor Sowing
Two to three weeks before your average last frost date, you can sow your seeds indoors. Avoid sowing them any earlier as older plants do not transplant well.
Sow the seeds in a container filled with 4" of soil. You can space the seedlings close together as you will be plucking out only the strongest ones from the bunch to transplant when the outside soil warms. Place the containers under grow lights.
Applying bottom heat will hasten germination.
Keep the seedlings inside under the grow lights until the outside soil has warmed to over 70 degrees. Then transplant the seedlings into your garden careful so you don't disturb the roots more than necessary. Final spacing is 12”.
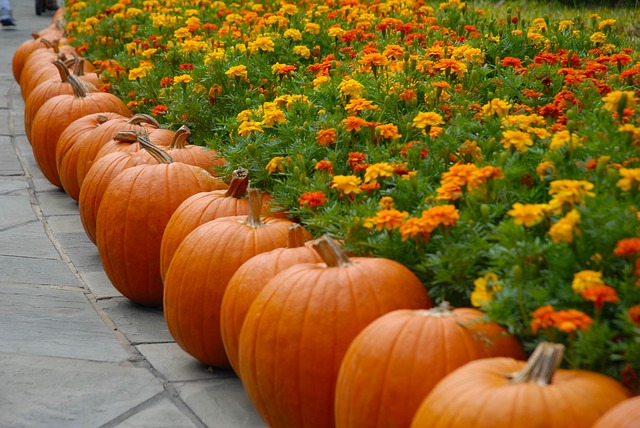
Take a tip from the picture above and plant marigolds near your pumpkins to draw in the pollinators.
Care for your Growing Pumpkin Vines
Give your pumpkin plants plenty of room for the vines to spread. Small and medium-sized varieties like Jack Be Little (orange) and Baby Boo (white) can be grown up a strong trellis.
After some growing time, you will see secondary vines that grow from the main stem. These secondary vines will feed the growing fruit. Prune away any vines that grow out of the secondary vines, as these will fuel plant growth but not fruit growth.
If you're trying to grow the largest pumpkins you can, let only one or two pumpkins develop on that vine.
Soil
Your soil should be rich in nutrients, as pumpkins are known to be heavy feeders. Before sowing your seeds, you can amend any poor existing soil with aged compost or rotted manure in generous amounts.
Water
Heavy watering throughout the growing season is recommended. When the plants are 1-2" tall, a good layer of mulch will help retain that moisture.
Fertilizing
If you’re new to growing pumpkins, a very basic 5-10-5 fertilizer applied moderately all through the growing season is a less intensive method that should yield good results.
For those who are interested in a more detailed fertilizing plan, here is our recommendation.N= Nitrogen P = Phosphorus K=Potassium
The higher the number of N P K on fertilizer packages, the more concentrated that nutrient is in the fertilizer.
For example, 20-20-20 is a balanced fertilizer. A 20-5-5 package contains four times more nitrogen than phosphate and potassium.
Apply a weekly nitrogen-heavy fertilizer early in the growing season to produce a healthy plant. Nitrogen promotes green growth, making for plenty of vines and leaves.
Once the flowers start to form, switch to a phosphorus-heavy fertilizer for plentiful blossoms.
When the actual pumpkins appear, use a potassium-rich fertilizer for healthy fruit.
Harvesting the Pumpkins
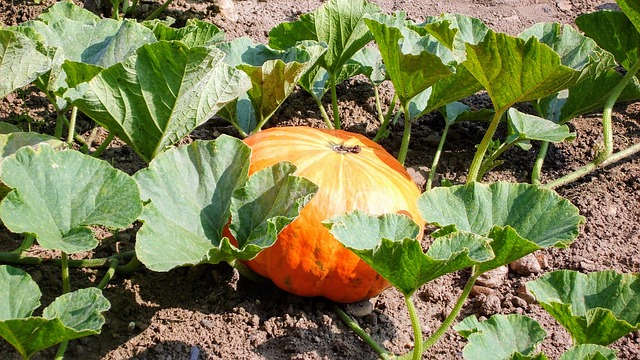
You will know your pumpkins are ready to harvest at the end of the growing season when the vines begin to die back and the leaves shrink. At this point, the pumpkin rinds should be firm.
Cut the pumpkins from the vine leaving several inches of the stem attached to the pumpkin to avoid early rot.
If the pumpkin is harvested without stem damage, it can last for 8-12 weeks before it rots. That's plenty of time for your Fall display.
Storing Your Pumpkins
If you intend to store your pumpkins, it's best that you cure them first by setting them outside in the sunshine for ten days. This will help to harden their skins. If there's a chance of frost, cover them or move them into a shed or garage.
Further store them at 50-degree temperatures where it is moderately dry.


Comments
Post a Comment