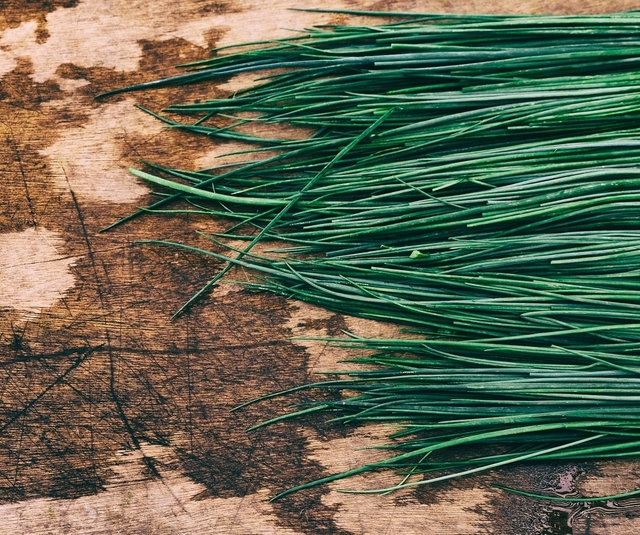
Growing Your Own Chives
Chives are a tender herb with soft stems and leaves. It’s one of the easiest perennial herbs to grow in Zones 3 – 9 and one of the earliest plants to appear in the spring. They produce lovely fuzzy flowers in pink and purple. They are a special treat for those first-of-the-year salads.
Chives add a flavor similar to onions without the bite. Chives grow as a grass-like plant and grow easily indoors or outdoors. Many gardeners even grow chives on a window sill for fresh chives all year long.
Types of Chives
Fine Leaf – A thinner, smaller, good choice for fresh use.
Purly – Thicker leaves, more productive.
Staro – Large thick leaves better for freezing or drying.
Garlic – Larger than common chives. The flat, tender leaves have a flavor in between garlic and onion.
Growing Chives from Seed
Chives started from seed can take a year before they're large enough to harvest. In about 2-3 years you will then be able to divide the clumps for more plants. So if you have the time, it's worth doing.
Seed Longevity: One to two years.
Seed Depth: Surface or just barely cover.
Best Soil Temp for Germination: 60 – 85 deg.
Days to Germination: 7-14.
Spring Sowing:
Sow in a windowsill pot any time.
Direct sow in outdoors spring after danger of frost has passed.
Winter Sowing
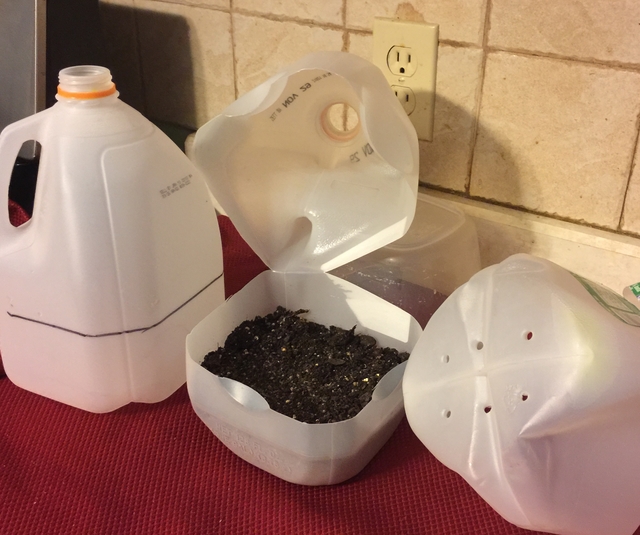
If you haven't tried winter sowing, you're in for a treat. This method is especially good for sowing herbs. Winter sowing is basically sowing seeds in the bottom of milk jugs in the winter, setting the milk jugs outside for the winter and leaving them there until the seeds germinate in the Spring.
Further Reading: What is Winter Sowing?
To watch our 30 minute video on how to winter sow, click here.
----------------------------------------------------------------------------------------------------
Growing Chive Plants
Plant Size: Height 12-15”
May spread a foot across.
Growing Soil Temperature: 55 – 70 degrees.
Spacing: 6-8” apart.
Container Size: Any width 12” deep.
Soil:
Thrives in nearly any soil. Prefers high organic matter.
Watering: Moderate, consistent.
Light/Sun: Full sun to part shade.
Fertilizer: If grown in soil amended with compost, no further fertilizer.
Good Companions: Carrot and tomatoes.
Bad Companions: Beans and peas.
Other Chive Information:
Dies back to the ground in winter in cooler climates. It can remain evergreen in warmer climates.
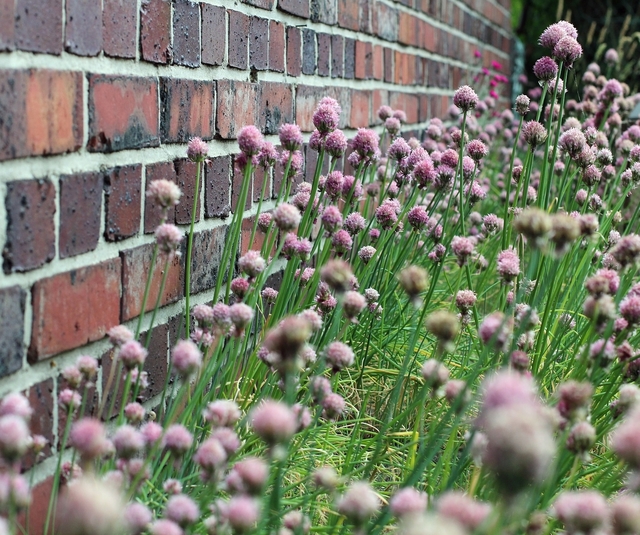
Dividing Chives
Chive clumps can be divided in early spring or mid-fall anytime three years after sowing from seed. Thin the clumps to 6 to 10 shoots per clump and replant at 8” apart. Allow divided plants to grow for several weeks before harvesting the leaves.
Try Audible and Get Two Free Audiobooks
Harvesting Chive Seeds
Harvest chive seeds when the seed head has dried and you can see the black round seeds. Use quickly as Chive seeds, like Onion seeds, are only viable for one to two years.
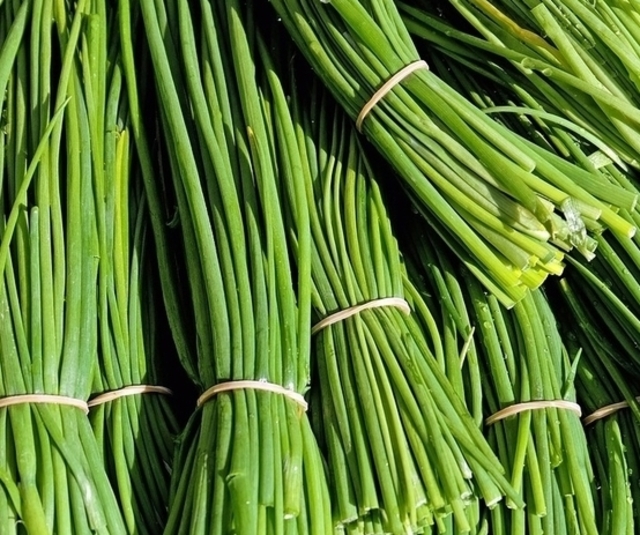
Harvesting Chive Leaves
Harvest early in the morning whenever the leaves are large enough. The best time to harvest is when the leaves are young and before the seeds develop. Snip off leaves or snip off the entire clump leaving 2”.
Storing Chives
Fresh
Bouquet Storage
This method works well for tender herbs with soft stems and leaves.
Clean and thoroughly dry the fresh Chives. Trim the end of the stems and remove any wilted or browned leaves. Place the Chives in a Mason jar or clear glass with 1" of water like a bouquet of flowers. Loosely cover with a plastic bag or cling wrap. Label and store in the fridge.
Chives will stay fresh in the fridge with this method for up to one week.
Freezing
Chives are one of the best herbs to freeze. For best results, use frozen Chives within 1-2 years.
Here are a few freezing methods to consider:
Tray Freeze
Spread Chives onto a cookie sheet on a single layer. Freeze in the freezer, then transfer the frozen Chive pieces into a labeled freezer bag to store. Since the leaves are frozen separately, later you can easily remove the amount you need.
Ice Cube Trays
Clean and thoroughly dry the Chives. Mince and firmly pack the Chives into ice cube trays 3/4 full. Add water to fill and freeze. Transfer frozen cubes into a labeled freezer bag to store.
These silicone ice cube trays are perfect for herbs.
Flat Freezer Bag
Clean and thoroughly dry the chives. Chop the chives into 1/2" pieces, place in a labeled freezer bag. Squeeze out the air, lay flat and freeze.
Drying
Hang to Dry
Pick your herbs in bunches right before you intend to store them. Tie the bottom of the bunch together with twine and hang upside down to dry in a dry, low humidity area. For added protection against dust, you can put the bundles inside paper bags with plenty of holes for ventilation. When the herbs are dry, the leaves will crumble easily between your fingers. Store dried chives in an airtight container.
For best use, use dried Chives within 1-2 years

Using Chives
- Use Chives at the very end of the cooking process as their mild flavor is destroyed by heat.
- Use Chives with sour cream, butter or cottage cheese for dips and spreads.
- Flowers are edible and have a more pungent, onion-like flavor.
- Chives blend well with parsley and tarragon.
- Looks great as a garnish.
- Great used for companion planting next to carrots.
~~~~~~~~~~~~~~~~~~~~~~~~~~~~~~~~~~
In conclusion, growing chives can be a simple and cost-effective way to add flavor and nutrients to your meals while also saving you money.
By following these tips and tricks, you can easily start your own chive garden and enjoy the benefits for years to come.
Whether you have a large garden or just a small windowsill, chives can thrive in any space and provide a constant source of fresh, inexpensive herbs.
With enough chives, your dishes are sure to be delicious. So go ahead, grab your gardening tools and let’s get growing!
~~~~~~~~~~~~~~~~~~~~~~~~~~~~~~~~~~~~~~~~~~~~~


.png)


No comments:
Post a Comment
Note: Only a member of this blog may post a comment.